Vulnerability Scanning with Metasploit: Part II
In the previous article, we learned how to perform a network vulnerability assessment by using the OpenVAS plug-in. In this continuation, we will see how to perform a web application vulnerability assessment by using the wmap plug-in.

FREE role-guided training plans
WMAP is a feature-rich web vulnerability scanner that was originally created from a tool named SQLMap. This tool is integrated with Metasploit and allows us to conduct webapp scanning from within the framework.
Launch msfconsole and type in load wmap.
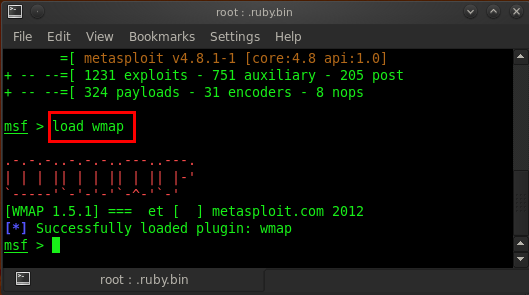
It will load and open the wmap plug-in from its database. Now type in help and it will show all usage commands for wmap.
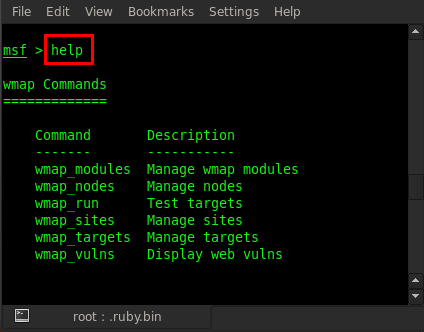
As can be seen in the above figure, the wmap_sites command is used for managing sites, so we are going to use this command. Type in wmap_sites -h and it will show all usage options for managing sites.
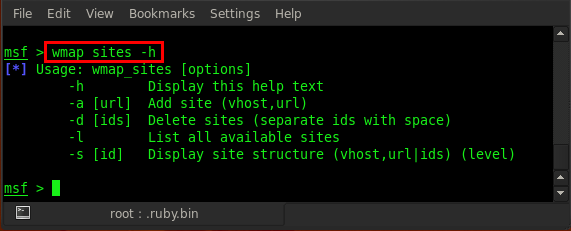
In the above figure, we can see that the -a option is for adding a site. So let us add a site by using this options. Type in wmap_site -a <target>. Here we hosted a web application in our local machine . That's why our target IP is a local IP address: wmap_sites -a http://192.168.0.102
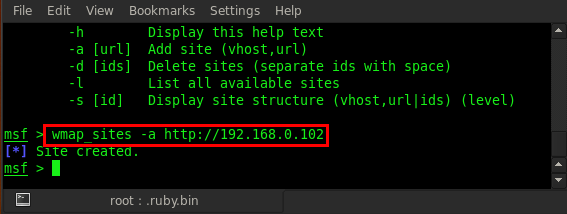
Once the site is created, we can check our added sites by typing wmap_sites -l and it will list all of them.
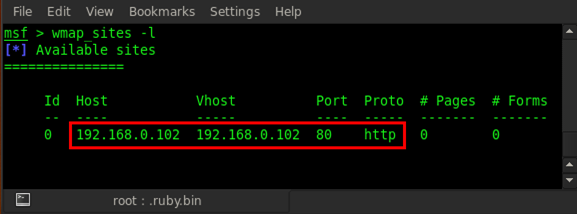
Our site is added; now we will add the target. First type in the wmap_targets -h command for listing all wmap_targets usage options.
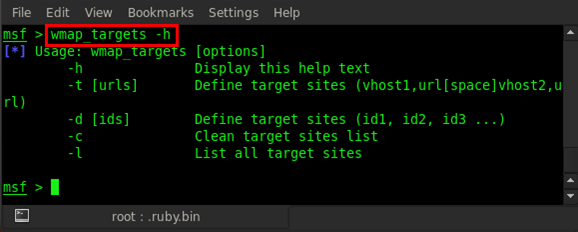
As we can see in the usage options, we can add our target by using two options. One is -t, for which we have to provide the target URL. If we use -d, we have to give target site id. Here we will use the -d option. So our command is wmap_targets -d 0
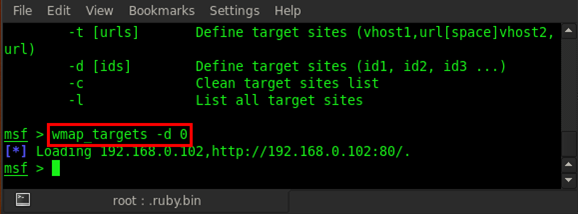
After adding the target ID, we can see that it loaded the target address. Now we can check the list to see if our target is added or not; type in wmap_targets -l
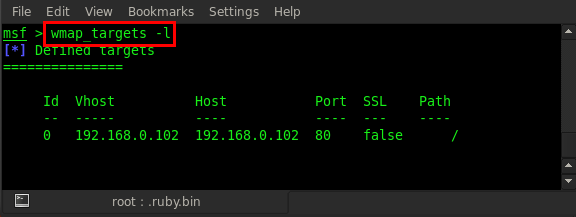
Now everything is ready; the target is successfully added and we can run our wmap for scanning the web applications. The scanning command is wmap_run but, before running this command, check all the usage options. Type in wmap_run -h

As we can see in the usage options, -t is for checking all enabled modules, which is used for scanning. So type in wmap_run -t
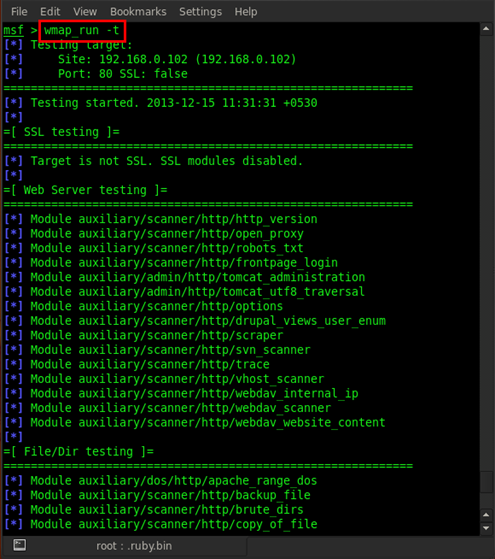
After triggering this command, it will show all the various testing modules.
Now type in wmap_run -e and it will start scanning with all enabled modules.
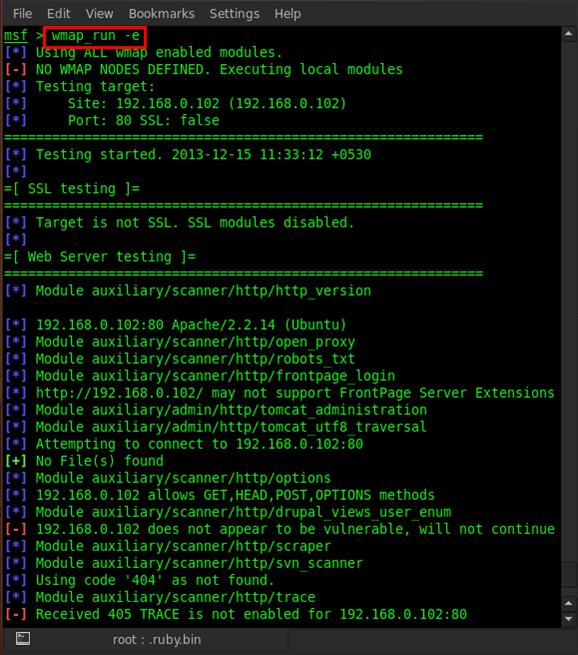
It will take some time, depending on how big the application is. After completion of scanning, it will look like this.
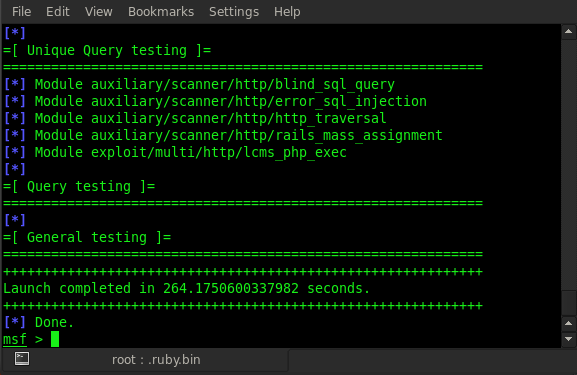
Now we can check all vulnerabilities by typing vulns.


Get your guide to the top-paying certifications
With more than 448,000 U.S. cybersecurity job openings annually, get answers to all your cybersecurity salary questions with our free ebook!
We can see in the above figure that the trace method is enabled on the application detected and the vulnerability references CVE ID, OSVD, BID, etc., are showing.


