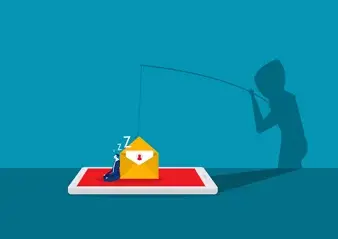
Creating Effective Phishing Landing Pages
When using the PhishSIM to test employees (referred to as learners), just as important as creating the phishing email is creating an associated landing page. This landing page is what learners see if they click on the link in the email or fill out the data entry form and is intended to be both a “gotcha” as well as an incentive for them to learn more.
Using Custom Branding
PhishSIM allows you to completely customize the landing page experience with your own logo or branding. This is a good idea since it will immediately alert the learner that the page is work-related. To change the branding, visit the Account Options page located in the pulldown menu on the right under your user name.
Two year's worth of NIST-aligned training
Deliver a comprehensive security awareness program using this series' 1- or 2-year program plans.
There you will see the option to Change Branding on the right, as well as changing your customer id on the left. The default of both of these is Securityiq. First, put your company name on the left.
Then, click the orange button, select Use Custom Logo, and upload your file. Tip: logo should be square and is best if it’s [size information].
You can also select a different background color from the pulldown menu to one that more closely aligns with your brand. Next, preview what your branding looks like on Landing Pages, Notification Emails, and Learning Modules by clicking the appropriate orange button.
Locating the Landing Page
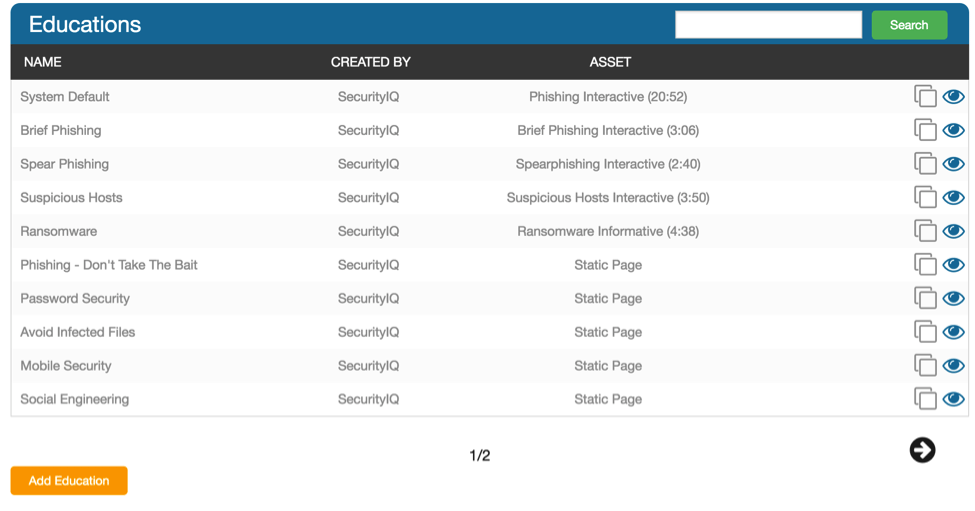
The Landing Pages are referred to as Educations, and are located in the PhishSIM menu under Education.
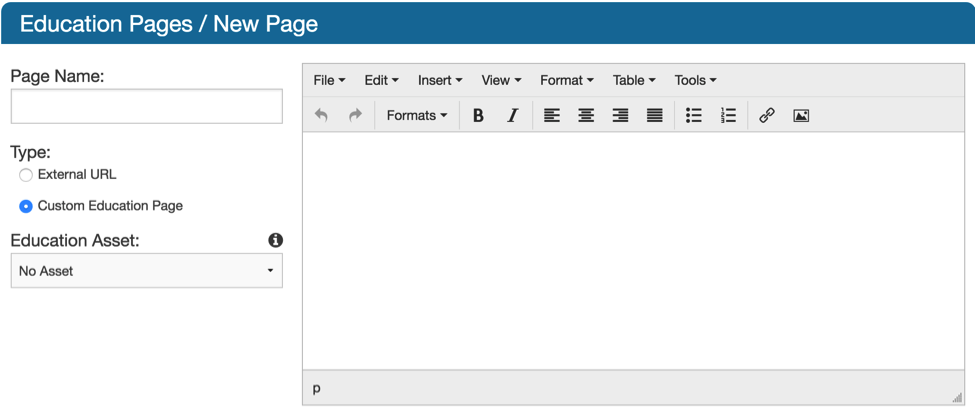
You can click on the eye icon to view a Landing Page or the paper icon to duplicate it and customize. While there are quite a few to choose from, including the System Default which has a 20 minute video embedded, some campaigns are more effective if the message is more personal and built from scratch. To do this, simply click the orange “Add Education” button at the bottom left of the screen.
This will take you to a screen that looks familiar to anyone that’s used any kind of word processor and is just as easy to use.
What the Message Should Say
This is where the delicate balance comes in. You want to make sure they know they’ve done something wrong immediately BUT you don’t want them to click the browser window closed without fully understanding what happened. You also want them to take the quiz in the Education Asset that you attach to the page and what will be happening next in terms of further training and testing.
A good idea is to put ATTENTION or IMPORTANT - avoid using WARNING or DANGER as it may cause a knee-jerk reaction to close the browser without viewing.
In fact - the next line could possibly be “Do Not Close Your Browser” (as in the System Default).
Another very important element is to tell them that while they’ve technically been phished, their computer is still safe.
Other Elements to Add
This is what we call a “teaching moment,” and an opportunity for them to improve their diligence against phishing or hacks. You may want to use this space to explain what “phishing” is (or whatever attack you have simulated) and choose an appropriate interactive lesson, called an Education Asset.
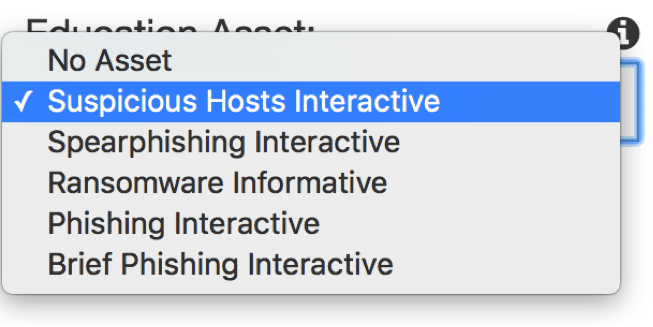
The available Education Assets are listed in a pull down menu on the left.
To insert, select the Asset of choice and on the page type {{education_asset}}. When the learner visits the page, it is automagically embedded!
Using Variables
Which brings us to the next important element in creating effective phishing landing pages: using variables to further customize the experience. There are 8 different variables, which are listed here. But essentially the ones that are going to get your employee’s attention are the variables that include their name. They are {{learner}}, {{learner_first}}, and {{learner_last}}, which put their full name, first name, or last name on the page, respectively.
Tip: You can control the size and alignment just like any other snippet of text. For a bigger impact, consider putting it in bold and/or Heading 1.
Messaging at the Bottom of the Page
Below the video, you will want to let your learners know that this is the beginning of a series of test phishing emails that will be randomly sent to their inbox. Remind them that phishing emails should always be deleted or forwarded to IT. Also, include language that tells them future test phishing emails will have a small “Report Phishing” link at the bottom that they can click to show they’ve passed the test. Again, use {{learner}} variables to customize the experience.

Get six free posters
Reinforce cybersecurity best practices with six eye-catching posters found in our free poster kit from our award-winning series, Work Bytes.
Concluding Thoughts
The PhishSIM is a highly customizable application that is designed to make employees aware of the dangers lurking in their inbox. Customizing the experience with your branding, their name, and an informative message will go a long way towards their compliance and your security.


